

If you’re a proud goats owner, you know that keeping them well-fed is essential for their overall health and happiness. A crucial part of their diet is high-quality hay, which provides necessary nutrients and keeps their rumen healthy. Building a DIY goat hay feeder is a fantastic option to ensure easy access to hay and minimize waste. In this guide, we will walk you through the process of creating a practical and cost-effective hay feeder for your furry friends.
Table of Contents
- Why Build Your Own Goat Hay Feeder?
- Building Your DIY Goat Hay Feeder: Step-by-Step Guide
- FAQs
- Conclusion
Why Build Your Own Goat Hay Feeder?
1. Cost-Effective Solution
Purchasing pre-made hay feeders can be expensive, especially if you have multiple goats. By building your own hay feeder, you can save significant money while still providing a durable and functional feeding solution.
2. Customization to Meet Your Goat’s Needs
Every goat has its own unique feeding habits and preferences. Building a DIY hay feeder allows you to tailor the design and size to accommodate your goat’s specific requirements. This customization ensures that your goats can comfortably access the hay and reduces the chances of hay wastage.
Building Your DIY Goat Hay Feeder: Step-by-Step Guide
Step 1: Gather the Necessary Materials
Before diving into the construction process, gathering all the required materials is essential. Here’s a list of items you’ll need:
- Wooden pallets or lumber
- Screws and nails
- Measuring tape
- Circular saw or handsaw
- Electric drill
- Screwdriver
- Hinges
- Latches
- Wire mesh
Step 2: Measure and Plan
Measure the space where you plan to install the hay feeder. Consider the number of goats you have and their size to determine the dimensions of the feeder. Sketch a simple design and note the measurements, ensuring the feeder is easily accessible for your goats.
Step 3: Construct the Frame
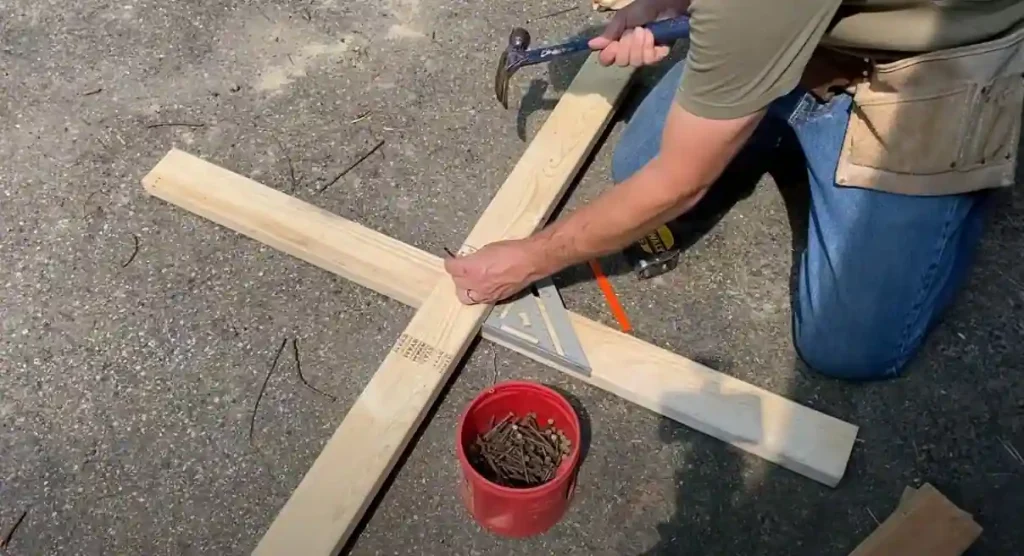
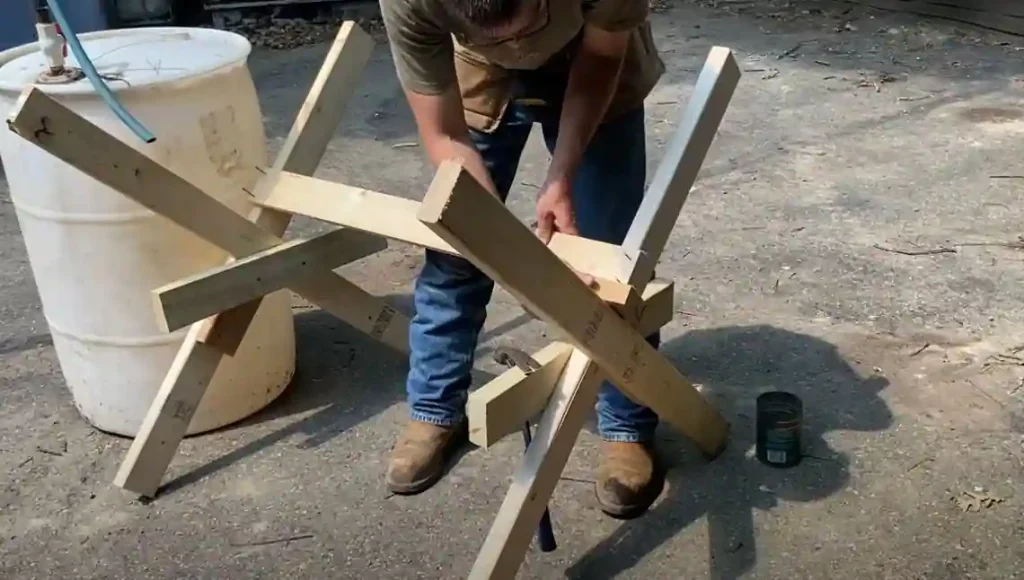
Cut the wooden pallets or lumber using the circular saw or handsaw according to your measurements. Assemble the pieces to create a rectangular frame, securing them with screws and nails. Ensure the structure is sturdy enough to withstand the goats’ weight and movements.
Step 4: Add the Hay Rack
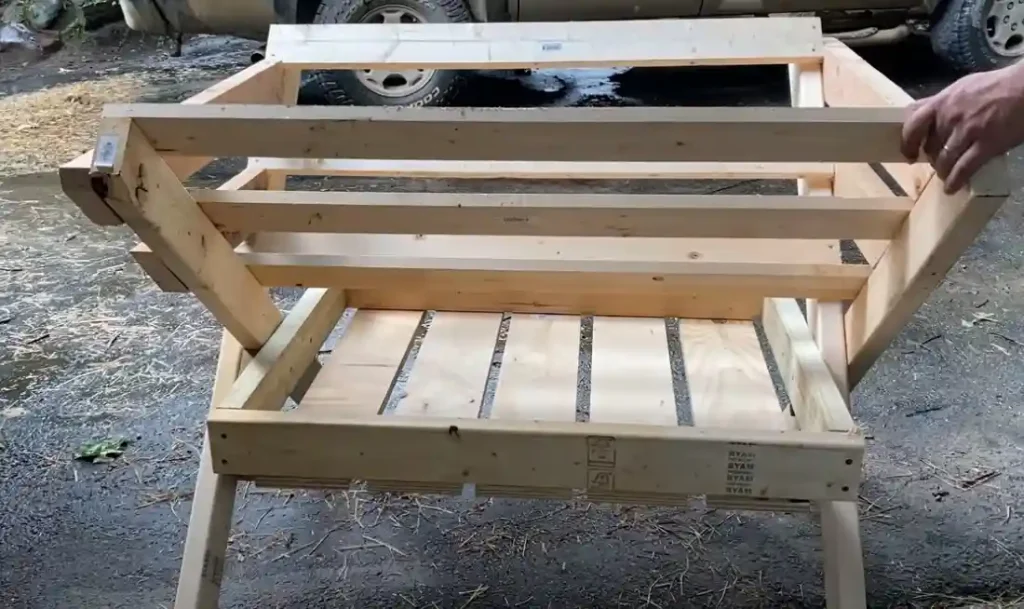
Attach a wooden plank or wire mesh inside the frame, creating a rack where you can place the hay. This will prevent the goats from trampling or soiling the hay, keeping it clean and easily accessible.
Step 5: Install Doors and Latches (Additional)
Attach doors to the front or sides of the hay feeder using hinges. This will allow you to refill the hay and clean the feeder easily. Install latches to keep the doors securely closed, ensuring the goats can’t open them and cause an unnecessary mess.
Step 6: Secure the Feeder
Once you have built the hay feeder, make sure to anchor it to the ground or a stable structure securely. This will prevent the goats from tipping it over or causing any accidents while feeding.
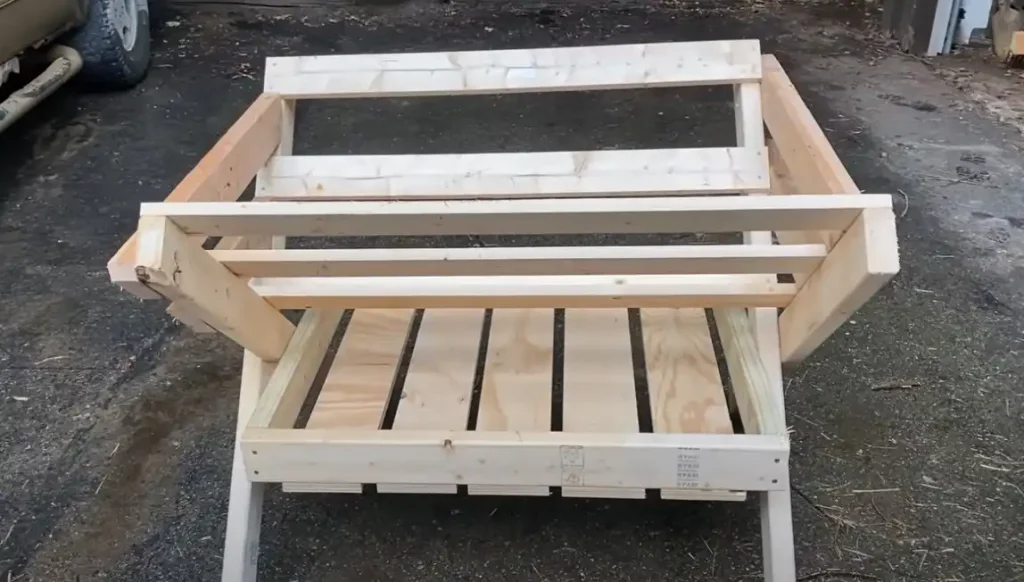
Step 7: Test and Adjust
Before introducing the hay feeder to your goats, test its functionality. Ensure that the hay is easily accessible, the doors open and close smoothly, and the feeder is stable. Make any necessary adjustments to improve its usability.
Idea–SSLFamilyDad
FAQs
Q1: Can I use recycled materials for building the hay feeder?
Absolutely! Recycling wooden pallets or repurposing old lumber is an excellent way to reduce costs and make your DIY project more sustainable. Just make sure that the materials you choose are sturdy and safe for your goats.
Q2: How many hay feeders do I need for my goats?
Having at least one hay feeder for every 4-5 goats is generally recommended. However, observing your goats’ feeding habits will help you determine if additional feeders are required. Some goats may be more dominant and monopolize the feeder, so having multiple feeders can ensure that all goats have equal access to hay.
Q3: How do I maintain and clean the hay feeder?
Regular maintenance and cleaning are essential to keep your hay feeder in good condition and ensure your goats’ health. Here are some tips:
- Inspect Regularly: Check the hay feeder regularly for any damages or signs of wear and tear. Repair or replace any broken parts promptly.
- Clean Out Hay Residues: Remove any leftover hay or debris from the feeder. This will prevent mold growth and keep the hay fresh.
- Sanitize: Periodically sanitize the hay feeder to prevent the buildup of bacteria or parasites. You can use a mild disinfectant or a vinegar-water solution.
- Check for Sharp Edges: Ensure that there are no sharp edges or protruding nails that could potentially harm your goats. Smooth down any rough surfaces.
By following these maintenance practices, you can prolong the lifespan of your hay feeder and keep your goats healthy and happy.
Q4: Can I modify the design to accommodate different types of hay?
Absolutely! Depending on the type of hay you feed your goats, you can adjust the size and spacing of the hay rack. For example, if you provide long-stemmed hay, you may need wider spacing between the planks or wire mesh to accommodate it. Consider the specific needs of your goats and make the necessary modifications to ensure efficient feeding.
Q5: Are there any safety considerations when building a hay feeder?
Safety should always be a top priority when constructing a hay feeder for your goats. Here are some safety considerations:
- Sturdy Construction: Ensure that the hay feeder is built with sturdy materials and can withstand the weight and movements of your goats.
- Secure Anchoring: Anchor the hay feeder securely to the ground or a stable structure to prevent tipping or collapsing while the goats are feeding.
- Avoid Hazardous Materials: Use safe materials for goats and avoid toxic substances or chemicals that could harm them.
Always prioritize the safety of your goats when building and using a hay feeder.
Conclusion
Building a DIY goat hay feeder is a rewarding and practical project that benefits both you and your goats. Following the step-by-step guide, you can create a cost-effective and customized solution to keep your goats well-fed and minimize hay wastage. Remember to gather the necessary materials, measure carefully, and construct a sturdy frame with a functional hay rack. Regular maintenance and cleaning will ensure the feeder remains in good condition for your furry friends to enjoy.
Investing your time and effort in building a DIY goat hay feeder will save you money and contribute to your goats’ overall well-being. So roll up your sleeves, gather your materials, and get started on this fun and rewarding project that will undoubtedly keep your goats happy and healthy for years to come!


