
Are you a chicken enthusiast looking to provide your feathered companions a safe and cozy haven? Look no further! This article explores the world of DIY pallet chicken coops. Not only are these coops affordable, but they also add a touch of rustic charm to your backyard. By reusing pallets, you’ll be contributing to a sustainable environment while creating a comfortable space for your chickens to roost and lay eggs. Let’s dive into the exciting journey of building your very own pallet chicken coop!
Table of Contents
- Materials Needed:
- Step-by-Step Guide:
- FAQs:
- Q: Can I use any pallet for building a chicken coop?
- Q: How many chickens can the pallet chicken coop accommodate?
- Q: How do I ensure proper ventilation in the pallet chicken coop?
- Q: Are there any additional measures to protect the chickens from predators?
- Q: How often should I clean the pallet chicken coop?
- Q: Can I customize the pallet chicken coop further?
- Conclusion:
Materials Needed:
Before we begin, gather the following materials:
- Recycled pallets (in good condition)
- Hammer and nails
- Electric saw or handsaw
- Measuring tape
- Chicken wire or hardware cloth
- Staple gun
- Hinges and latch
- Drill with screws
- Paint or sealant (optional)
- Nesting boxes and roosting bars
Step-by-Step Guide:
1. Planning and Design:
To start, envision the size and design of your chicken coop. Consider the number of chickens you’ll house and the available space in your backyard. Sketch a rough layout to guide you during the construction process. Remember to include sections for nesting boxes, roosting bars, and an easily accessible door.
2. Pallet Preparation:
Inspect the pallets for damage and remove any protruding nails. Deconstruct the pallets, salvage the usable boards, and discard any damaged pieces. Smooth rough edges and sand down the wood for a polished look.
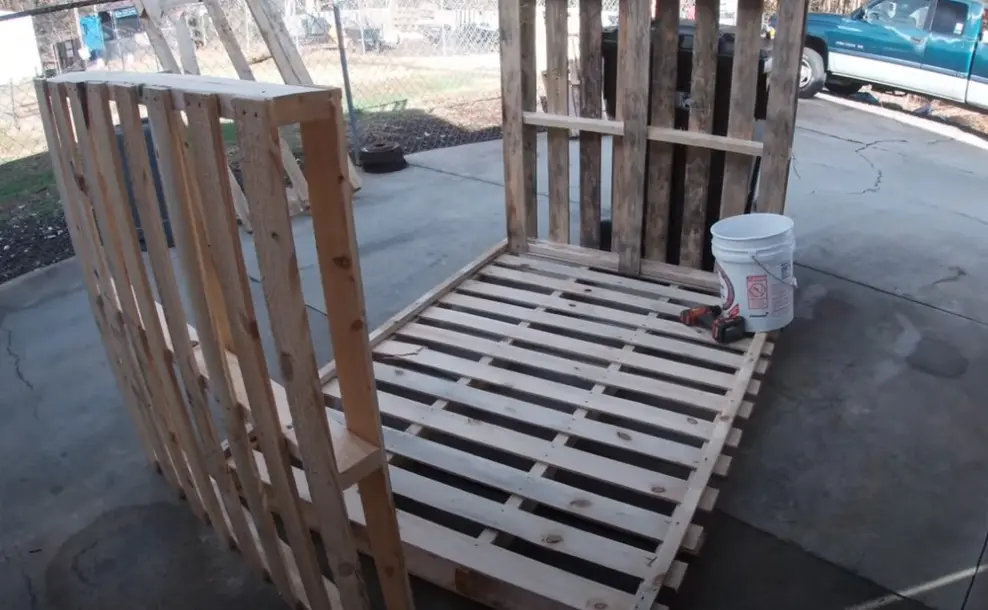
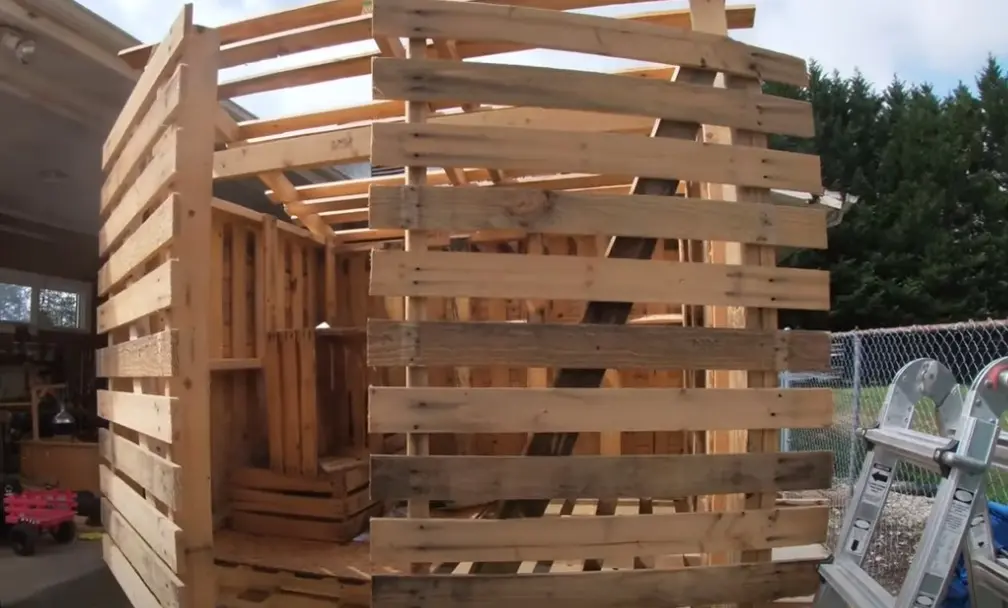
3. Frame Construction:
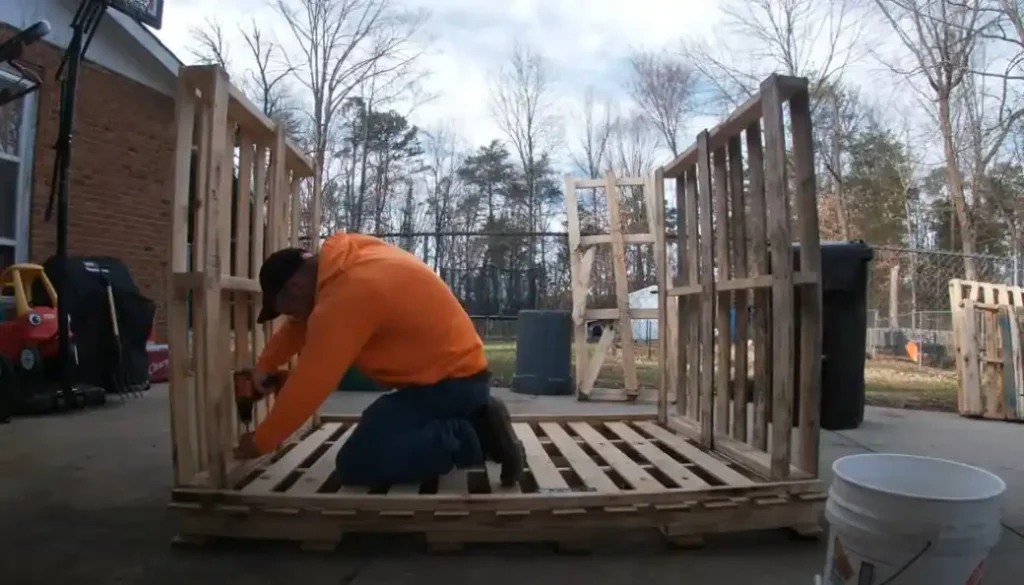

Using the pallet boards, construct the frame of the chicken coop. Start with the base, securing the boards together with nails or screws. Continue building the walls, ensuring stability and leaving space for windows or vents for proper ventilation.
4. Chicken Wire Installation:
Cover the openings in the coop walls with chicken wire or hardware cloth. Attach it securely using a staple gun, ensuring there are no gaps where predators could enter. This protects your chickens while allowing fresh air to circulate.
5. Roof and Nesting Boxes:
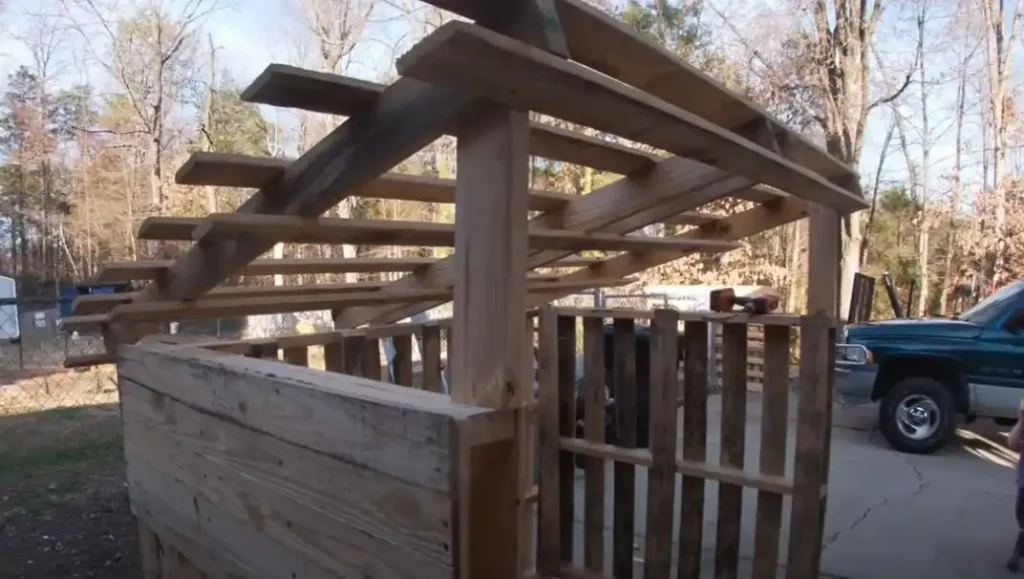
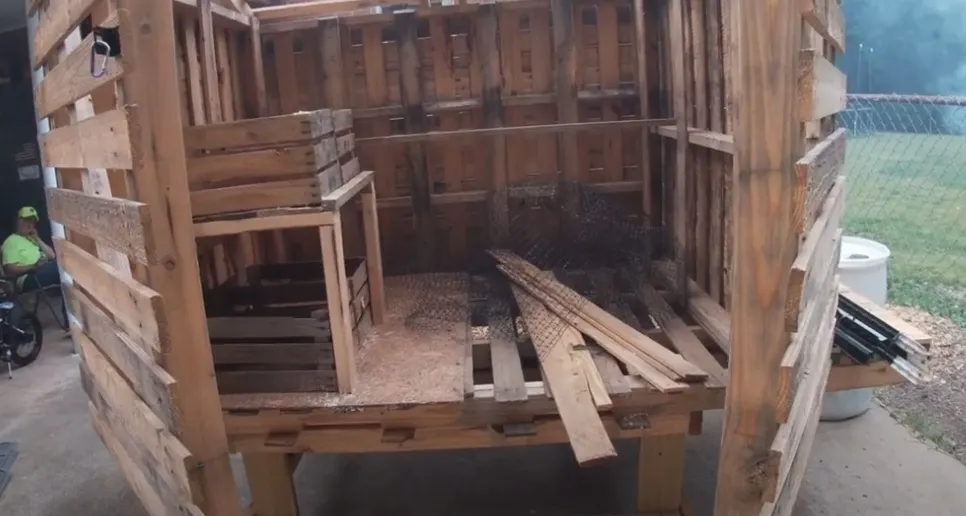
Create a sloped roof using additional pallet boards. Ensure proper drainage by angling the roof slightly. Attach it securely to the coop frame. Construct nesting boxes inside the coop, providing your chickens with private spaces to lay eggs.
6. Door, Windows, and Roosting Bars:
Install a door that allows easy access for cleaning and collecting eggs. Add windows, if desired, to provide natural light. Incorporate roosting bars at varying heights to accommodate your chickens’ preferences.
7. Finishing Touches:
Consider painting or sealing the coop to protect it from the elements and add a personal touch. Use non-toxic paint for the safety of your chickens. Finally, attach hinges and a latch to the door, ensuring it closes securely.
Idea–Nooe Lawn Care
FAQs:
Q: Can I use any pallet for building a chicken coop?
A: Using heat-treated pallets that are free from chemicals and safe for animals is recommended. Avoid using pallets treated with chemicals or those marked as unsafe for reuse.
Q: How many chickens can the pallet chicken coop accommodate?
A: The number of chickens your coop can house depends on its size. As a general guideline, allow at least 4 square feet of coop space per chicken. For example, a 4’x4′ coop can comfortably accommodate four chickens.
Q: How do I ensure proper ventilation in the pallet chicken coop?
A: Ventilation is crucial for the health of your chickens. You can incorporate windows or vents covered with mesh or chicken wire to allow fresh air to circulate while keeping predators out. Placing vents near the top and bottom of the coop facilitates proper airflow.
Q: Are there any additional measures to protect the chickens from predators?
A: Yes, apart from using sturdy chicken wire, you can bury wire mesh around the perimeter of the coop to prevent digging predators. Additionally, consider adding a secure lock to the door to deter larger predators.
Q: How often should I clean the pallet chicken coop?
A: Regular cleaning is essential to maintain a healthy environment for your chickens. Clean the coop at least once a week, removing droppings, replacing bedding, and ensuring fresh water and food are available.
Q: Can I customize the pallet chicken coop further?
A: Absolutely! You can personalize your chicken coop by adding paint, decorative elements, or even repurposing additional materials like old windows or tin roofing for a unique touch. Get creative and make your coop reflect your style!
Conclusion:
Congratulations on completing your very own DIY pallet chicken coop! By using recycled pallets, you’ve created a cozy and safe haven for your feathered friends and contributed to a sustainable lifestyle. Remember to maintain cleanliness and provide proper ventilation and protection against predators. Your chickens will enjoy their rustic abode while you relish the satisfaction of a successful DIY project.
Building a pallet chicken coop allows you to save money, showcase your creativity, and provide your chickens with a comfortable home. As you witness your feathered friends happily exploring their new coop and laying delicious eggs, you’ll appreciate the efforts you put into this project.
So, gather your tools, unleash your creativity, and embark on this exciting adventure of building a DIY pallet chicken coop. Your chickens will thank you with their cheerful clucks and bountiful eggs!


