
One common question that car owners often ponder is when to wax their beloved vehicles. The frequency of car waxing largely depends on various factors, including climate, usage, and the type of wax you use. Generally, waxing your car every three to four months is a good starting point. However, if your vehicle faces harsh weather conditions or extensive sun exposure, more frequent waxing might be necessary. It’s essential to remember that waxing not only enhances the shine but also acts as a protective shield against environmental elements.
Table of Contents
- DIY vs. Professional: The Waxing Dilemma
- How to Make DIY Car Wax: Your Recipe for Success
- FAQs: Answering Your Burning Questions
- Conclusion
DIY vs. Professional: The Waxing Dilemma
Choosing between a DIY car waxing session and a professional service is a decision every car owner faces. Each approach has its advantages and drawbacks.
The DIY Advantage
- Cost-Effective: DIY car waxing is budget-friendly, as you invest in the product once and use it for multiple sessions.
- Convenience: You have the flexibility to wax your car whenever it suits your schedule.
- Personal Satisfaction: There’s a sense of accomplishment in waxing your car yourself and witnessing the results.
The Professional Touch
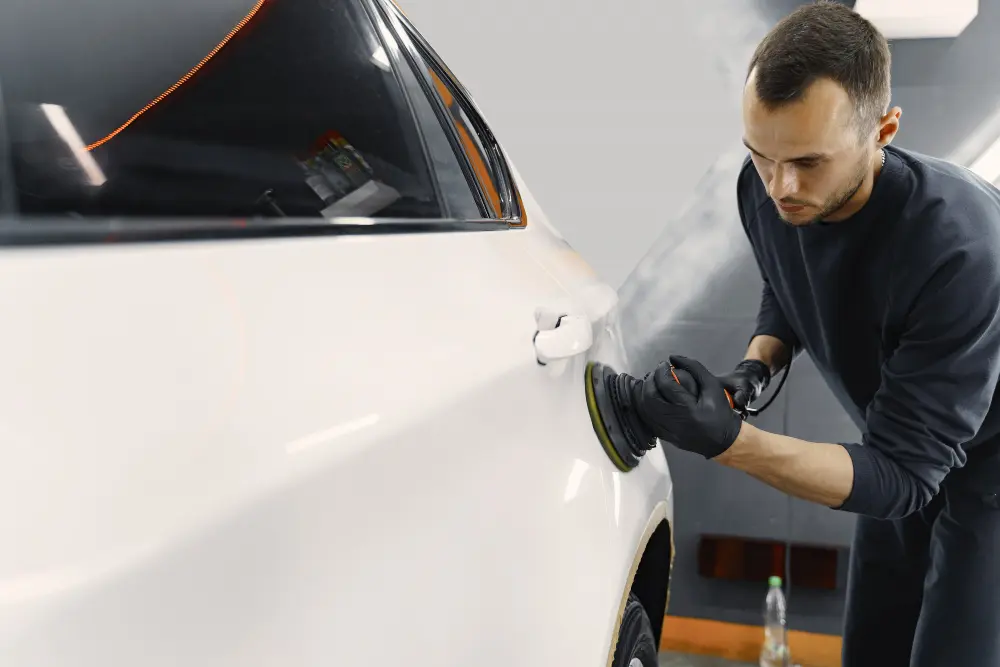
- Expertise: Professional car detailers have the experience and equipment to deliver impeccable results.
- Time-Saving: It saves you time and effort since you don’t have to do the hard work.
- Specialized Products: Professionals often use high-quality, specialized products for a longer-lasting shine.
Waxing Tips and Tricks: A Smooth Finish
Whether you choose the DIY route or rely on professionals, here are some universal waxing tips to achieve that perfect, glossy finish:
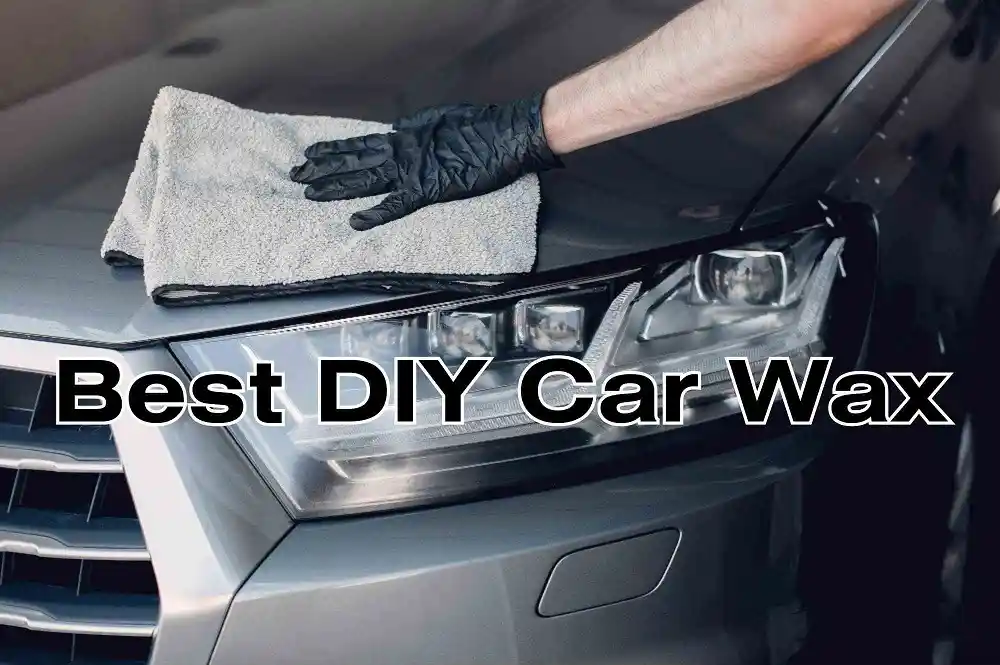
- Clean Thoroughly: Before waxing, ensure your car’s surface is clean and free of dirt, dust, and contaminants. Washing and drying your car properly is the first step towards a flawless finish.
- Apply Sparingly: Less is often more when it comes to wax application. A thin, even layer of wax is more effective than a thick, uneven one.
- Circular Motions: When applying wax, use circular motions for even coverage. This helps distribute the wax evenly and ensures a uniform shine.
- Buff with Care: When buffing off the wax, use a clean, soft microfiber cloth or buffer. Gently polish the surface to reveal the brilliant shine underneath.
How to Make DIY Car Wax: Your Recipe for Success
Ingredients You’ll Need
Creating your homemade car wax requires a few key ingredients:
- Beeswax: Beeswax forms the base of your car wax. It provides a protective layer and a smooth finish. You can find beeswax at craft stores or online retailers.
- Carnauba Wax: Carnauba wax, derived from the leaves of the Brazilian carnauba palm tree, adds hardness and durability to your wax. It’s often used in commercial car wax products.
- Microcrystalline Wax: This wax is crucial for achieving the right texture. It adds a glossy shine and helps with the application of the wax.
- Mineral Spirits: Mineral spirits act as a solvent to blend the waxes together and create the right consistency.
- Essential Oils (Optional): To add a pleasant fragrance to your homemade wax, consider including a few drops of essential oils like lavender or citrus.
The Mixing Process
Now that you have gathered your ingredients, follow these steps to create your DIY car wax:
- Safety First: Ensure you are in a well-ventilated area and use safety gear like gloves and goggles.
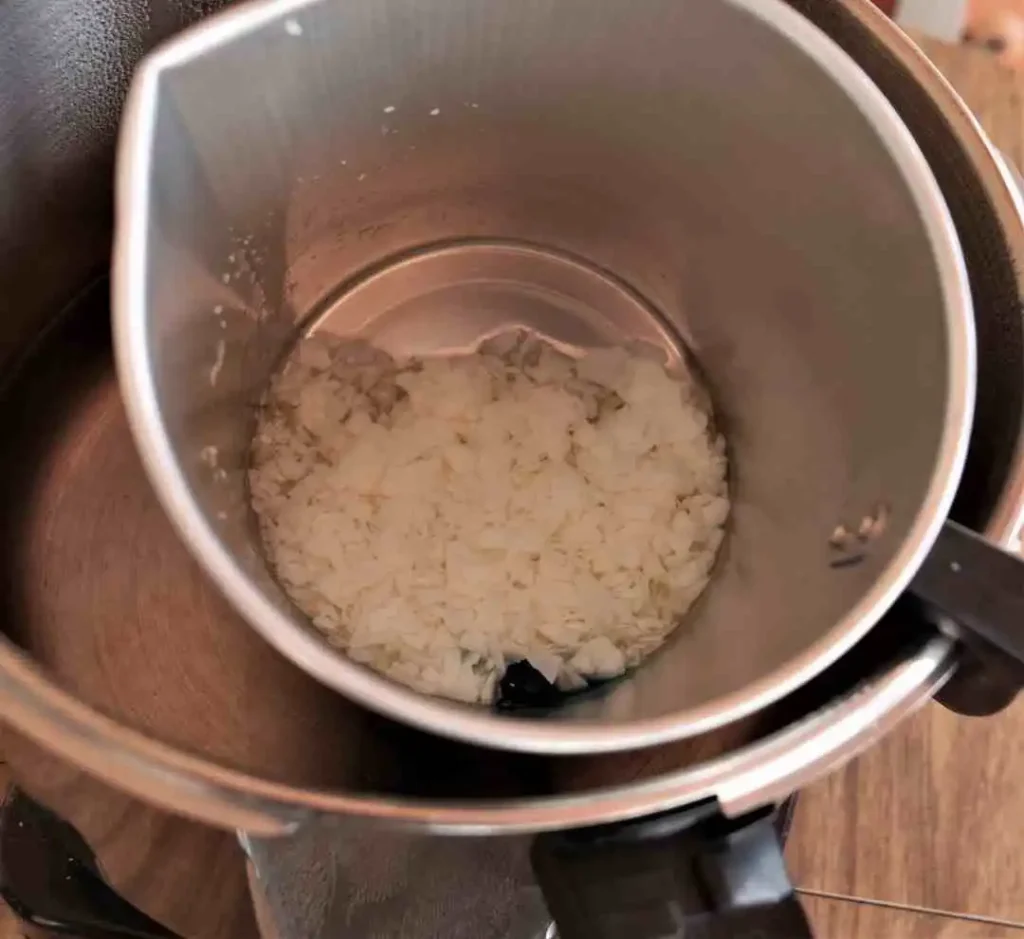
- Prepare the Wax: Grate or chop the beeswax, carnauba wax, and microcrystalline wax into small pieces to make them easier to melt.
- Heat the Wax: Place the grated waxes in a heat-resistant container and set up a double boiler system. Heat the waxes gently until they melt and combine.
- Add Mineral Spirits: Gradually pour in the mineral spirits while stirring continuously. This will thin the wax mixture to the desired consistency.
- Optional Fragrance: If you wish to add fragrance, stir in a few drops of your chosen essential oil.
- Cool and Store: Allow the mixture to cool and solidify. Once it’s firm, you can transfer it into a container with an airtight seal.
Application Tips
Now that you’ve made your DIY car wax, here are some tips for applying it effectively:
- Test on a Small Area: Before waxing the entire car, test your homemade wax on a small, inconspicuous area to ensure it doesn’t cause any adverse effects.
- Apply with Care: Use a clean, soft cloth or applicator pad to apply the wax in circular motions. Make sure to cover the entire surface evenly.
- Let it Dry: Allow the wax to dry to a haze. This can take anywhere from a few minutes to about 10-15 minutes, depending on the environmental conditions.
- Buff to Shine: Once the wax has dried, use a clean, dry microfiber cloth to buff the surface to a brilliant shine.
FAQs: Answering Your Burning Questions
Q1: Is DIY car wax as effective as professional services?
Absolutely, DIY car waxing can be just as effective if done correctly. It allows you to choose the products and take the time needed for a quality finish. However, professional services may have access to specialized equipment and products, which can yield slightly superior results.
Q2: How often should I wax my car?
The ideal frequency for car waxing depends on various factors, including weather conditions and usage. Generally, waxing every three to four months is a good starting point. However, you may need to wax more frequently in harsh conditions or if you want to maintain a showroom shine.
Q3: Can I use DIY car wax on any car finish?
Most DIY car waxes are suitable for a wide range of car finishes, including clear coats, single-stage paints, and more. However, always check the product label for compatibility with your specific car’s finish.
Q4: What’s the shelf life of homemade car wax?
The shelf life of homemade car wax depends on the ingredients used and how well it’s stored. Typically, homemade waxes can last several months to a year if kept in a cool, dry place in a sealed container.
Conclusion
In the world of automobiles, the road to a gleaming ride is paved with choices. Whether you opt for the best DIY car wax products on the market or decide to create your unique blend, the end result is a car that radiates beauty. The journey of DIY car waxing is not just about transforming your vehicle; it’s about connecting with it on a deeper level, understanding its needs, and reveling in the satisfaction of a job well done.
So, roll up your sleeves, embrace the world of DIY car wax, and set your car on the path to a brilliant, head-turning shine! Remember, whether you choose to tread this path alone or seek professional guidance, the destination is always the same—a car that gleams with the pride of meticulous care and attention.


Its like you read my mind You appear to know so much about this like you wrote the book in it or something I think that you can do with a few pics to drive the message home a little bit but instead of that this is excellent blog A fantastic read Ill certainly be back