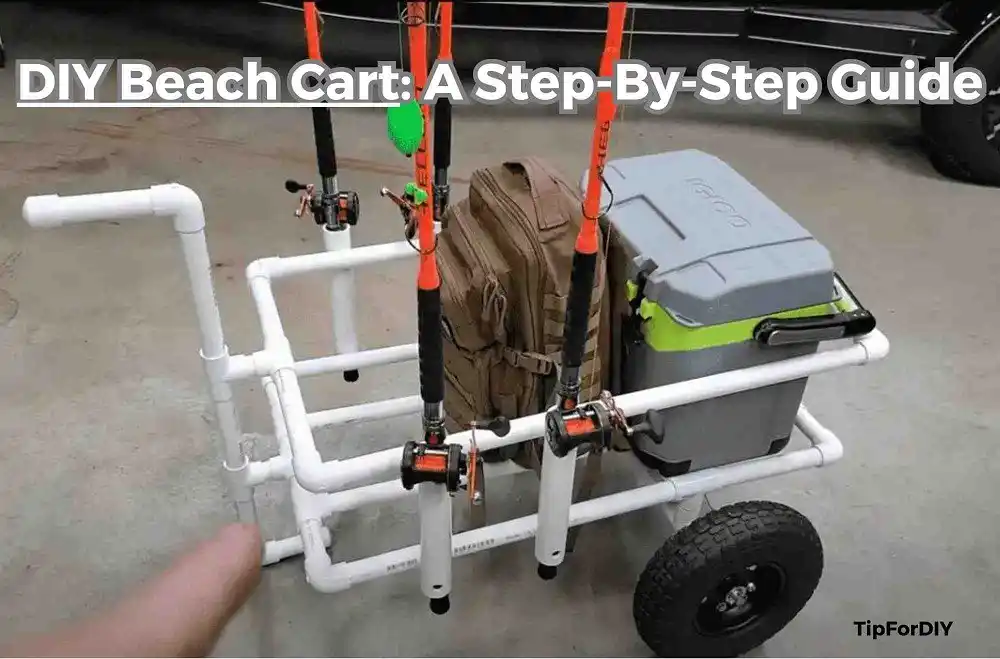
Do you struggle with carrying all your beach stuff to the shore? A DIY beach cart can solve that problem for you! With just a few simple tools and materials, you can make your own beach cart that will make your beach day easy. In this article, we will guide you through the process of building a DIY beach cart step-by-step.
Table of Contents
Introduction:
Beach trips are fun, but carrying your stuff to the shore can be hard. With a DIY beach cart, you can easily take all your things and have a worry-free day at the beach. We’ll show you how to make a simple and easy-to-use beach cart in this article.
Materials Required:
Before we start making a DIY beach cart, let’s see what things we need.
- PVC pipes, L bows, Tees, and End caps
- Two Cargo pins
- Two Wheels
- Drill
- Saw
- Screws
- Nuts and bolts
- Sandpaper
- Spray paint (optional)
Step-by-Step Guide:
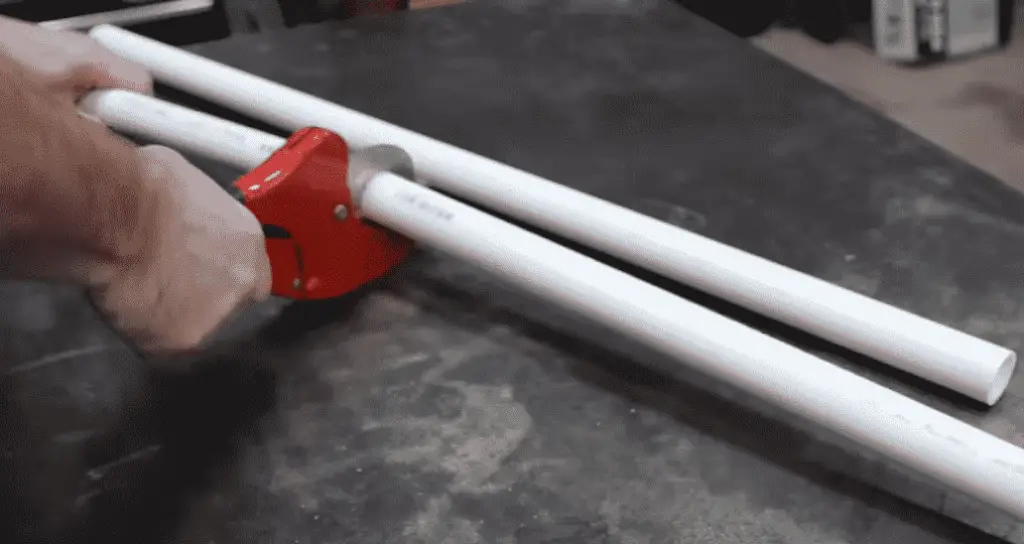
First, use a saw to cut PVC pipes to the desired length. The length of the pipes depends on the size of your cart and the height you want your beach cart to be. This step may require some trial and error to get the right fit.
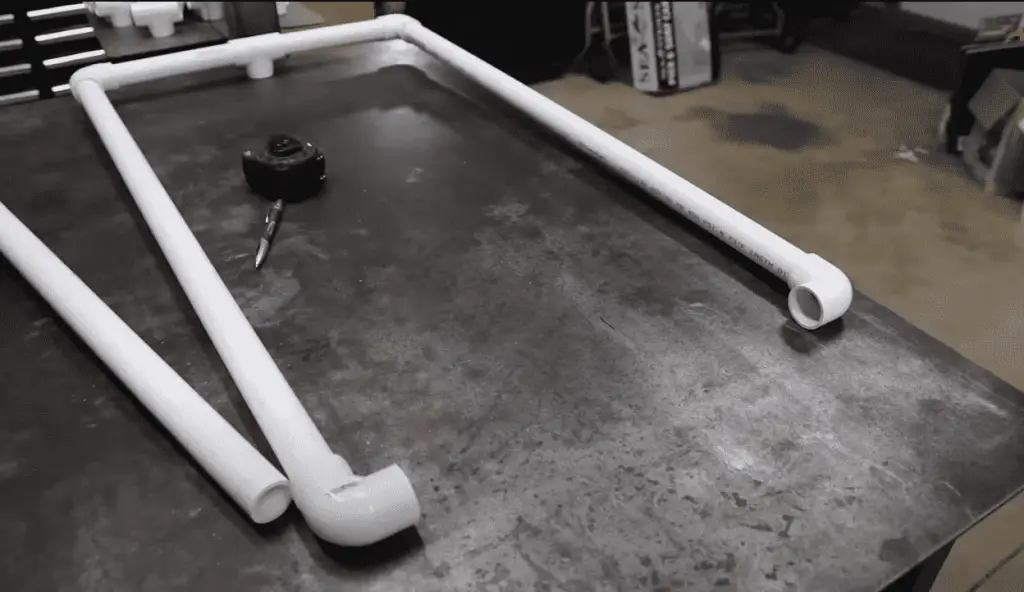
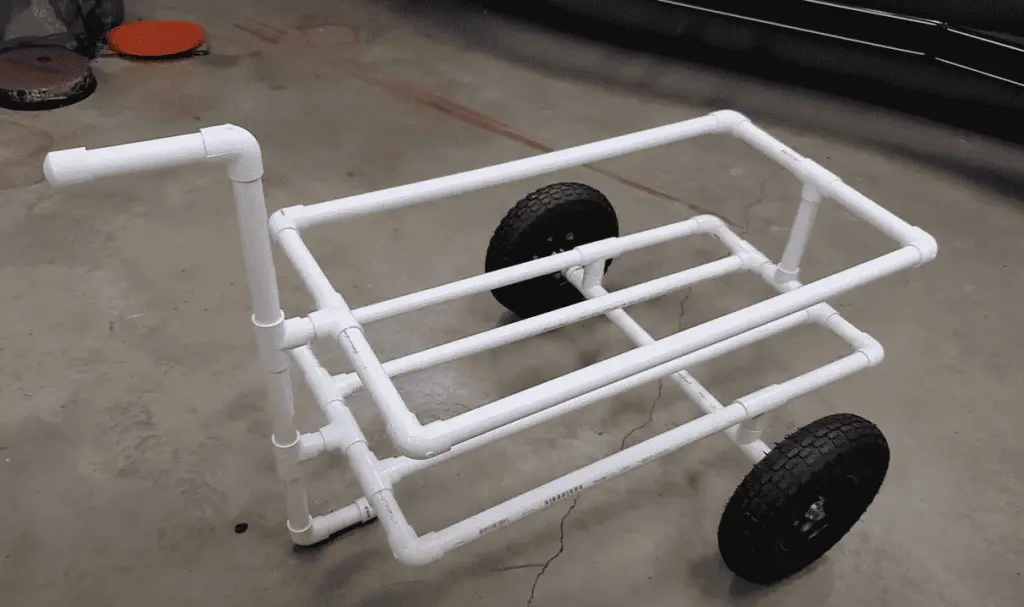
Next, you can begin assembling the PVC pipes by fitting them together using L-bows and T-joints. Start by creating the base of the cart by attaching two long PVC pipes to two L-bows. Then, connect the shorter PVC pipes to the L-bows to create a rectangular shape of the cart.
Once you have the base of the cart assembled, you can start building the sides of the cart. This is done by attaching two T-joints to the top of the base and then attaching two long PVC pipes to the T-joints. Repeat this step for the other side of the cart.
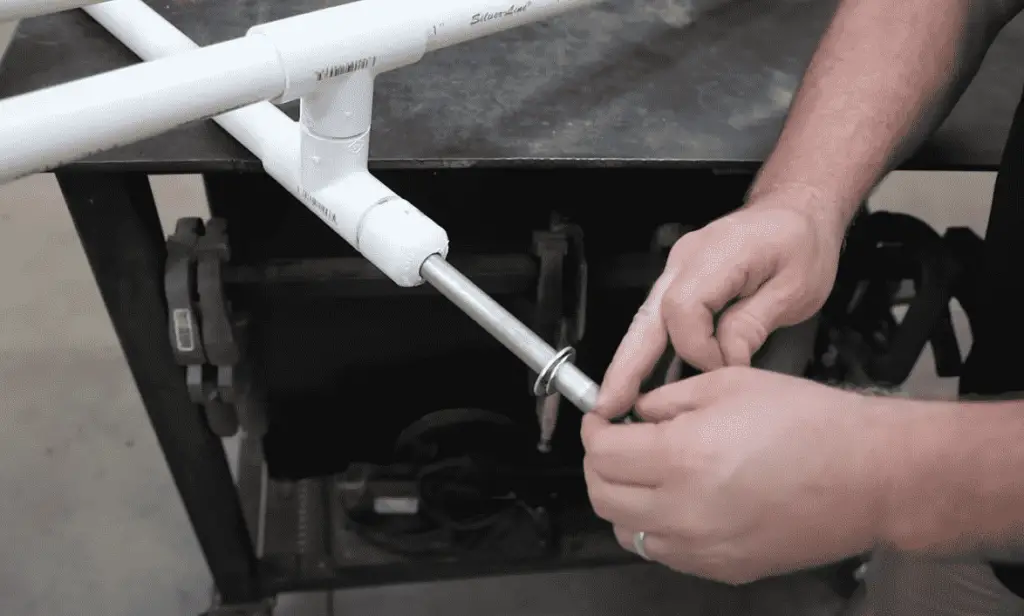
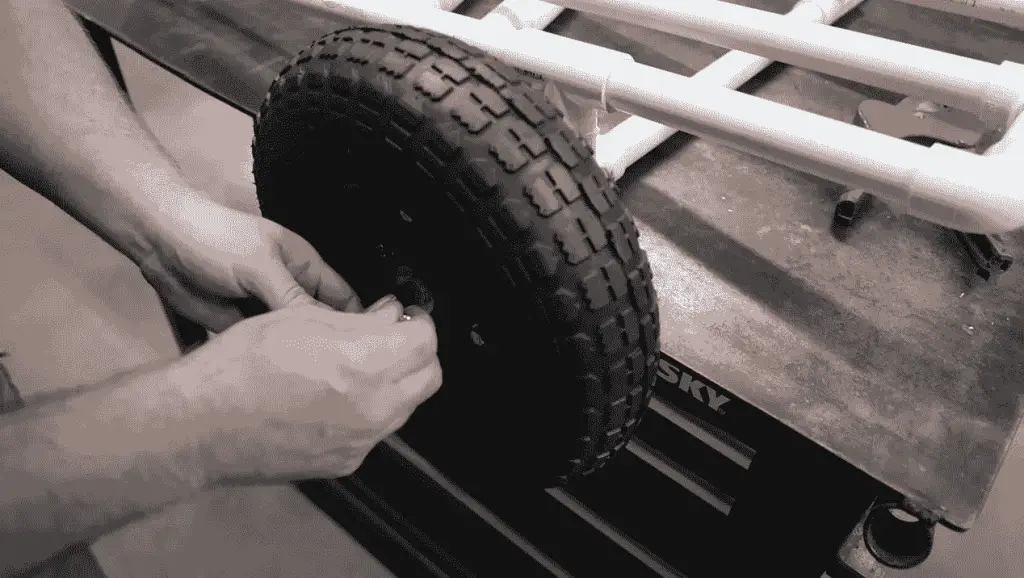
Now you can add the wheels to the cart. To do this, simply attach two more L-bows to the bottom of the base of the cart and insert the wheels into them. You may want to add a piece of foam or rubber around the wheels to help protect them while transporting your beach gear.
Finally, sand the PVC pipes to remove any rough edges and bumps on pipes. If you want to add some color to your beach cart, you can easily spray paint it with a color of your choice. Be sure to use a spray paint suitable for use on a plastic surface if you choose to paint it.
To prevent items from falling off during transport, use bungee cords and zip ties to secure all your beach gear to the cart. This step is critical to ensuring your belongings arrive safely at the beach.
FAQs:
Q: How much does it cost to make a DIY beach cart?
A: The cost of materials for a DIY beach cart will depend on the size and the type of cart you choose, as well as the materials you use. On average, you can expect to spend around $50 to $100.
Q: How long does it take to make a DIY beach cart?
A: The time it takes to make a DIY beach cart will depend on your skill level and the complexity of the design you choose. On average, you can expect to spend around 2-3 hours to build your beach cart.
Q: Can I use a regular cart or wagon for a beach cart?
A: Yes, you can use a regular cart or wagon for a beach cart. However, it’s important to choose a cart or wagon that is durable and can withstand sand and saltwater.
Conclusion
In conclusion, a DIY beach cart is a perfect way to make your beach trips more enjoyable and hassle-free. With just a few simple tools and materials, you can make your own beach cart that is both functional and easy to use. Not only will it save you from the back-breaking task of carrying your beach gear, but it will also ensure that all your gear is safely and securely transported to the shore. So why not try making your own DIY beach cart and enjoy your next beach day without any worries? Happy building guys!