

Are you an avid outdoors enthusiast looking to attract deer to your property? Building your own DIY deer feeder is a rewarding project that can help you achieve that goal. This comprehensive guide will walk you through creating a deer feeder from scratch. From gathering the necessary materials to implementing effective techniques, you’ll soon have a fully functional deer feeder to attract these majestic creatures to your land.
Table of Contents
- Understanding the Importance of a Deer Feeder
- Gathering the Essential Materials
- Step-by-Step Instructions for Building Your DIY Deer Feeder
- Expert Tips for Maximizing Deer Attraction
- Frequently Asked Questions (FAQs)
- Conclusion
Understanding the Importance of a Deer Feeder
Deer feeders are vital in attracting and nourishing deer populations on your property. They provide a consistent food source, which is especially beneficial during harsh seasons when natural food may be scarce. Additionally, a deer feeder allows you to monitor and observe the deer in a controlled setting, enabling a closer connection with nature.
Gathering the Essential Materials
Gathering all the necessary materials before embarking on your DIY deer feeder project is crucial. Here’s a list of items you’ll need:
- Sturdy wood or metal for the frame
- Screws, nails, or fasteners
- PVC pipes or buckets for the feeding mechanism
- Weatherproofing materials such as sealant or paint
- Ropes or chains for mounting the feeder
- Deer food (corn, grains, or specially formulated feed)
Step-by-Step Instructions for Building Your DIY Deer Feeder
1. Constructing the Frame
Start by building a sturdy frame for your deer feeder. Measure and cut the wood or metal according to your desired dimensions. Assemble the frame using screws, nails, or fasteners. Ensure that it is stable and capable of withstanding various weather conditions.
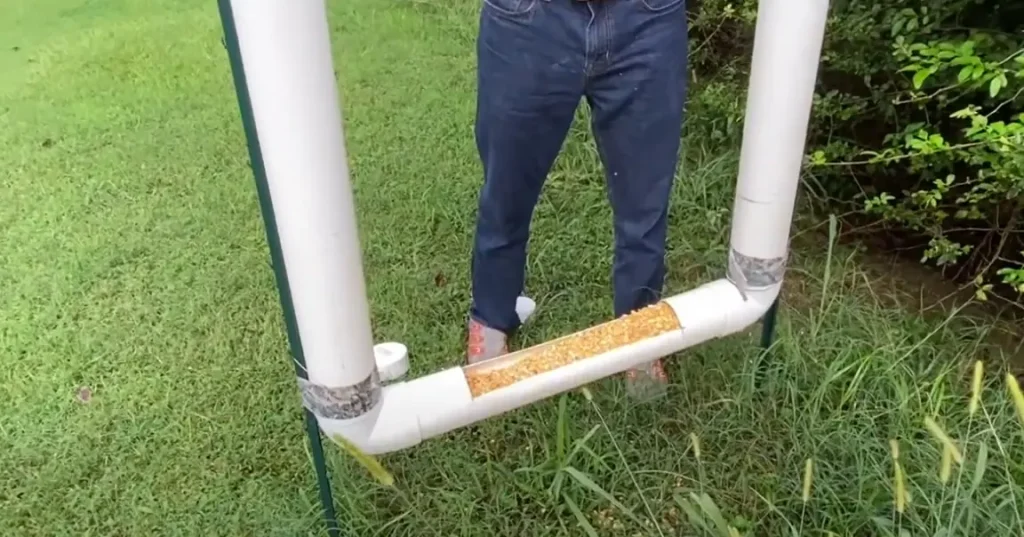
2. Designing the Feeding Mechanism

Next, create a feeding mechanism for your deer feeder. You can use PVC pipes or buckets as containers for the deer food. Cut holes in the bottom of the container to allow the food to dispense gradually. Attach the containers securely to the frame, ensuring they are positioned at a suitable height for deer to access the food.
3. Adding Weather Protection
To ensure the longevity of your deer feeder, it’s essential to protect it from the elements. Apply a weatherproof sealant or paint to the frame and feeding mechanism. This will safeguard the wood or metal against moisture, rot, and other potential damages caused by weather conditions.
4. Mounting the Deer Feeder
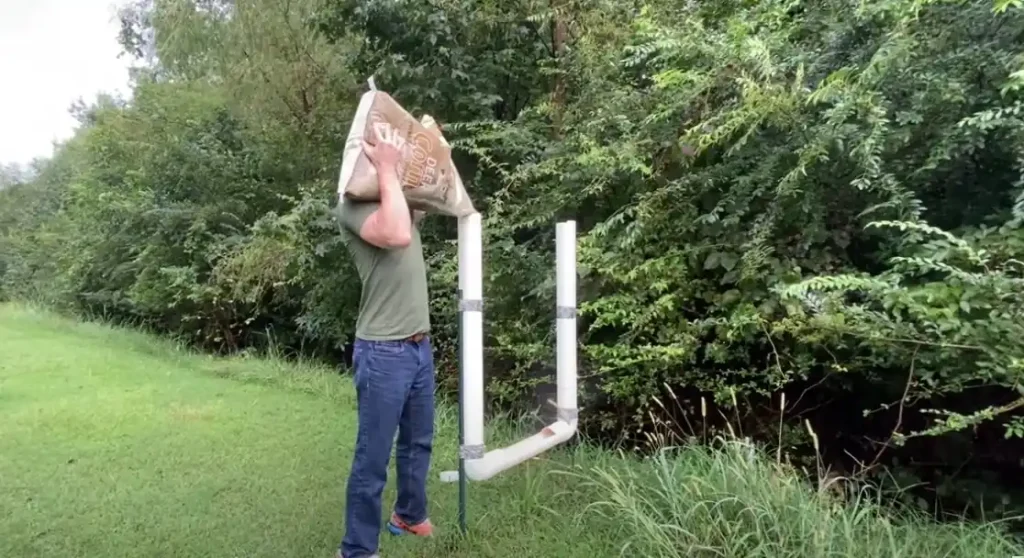
Choose a strategic location to mount your DIY deer feeder. Ideally, it should be near areas frequently visited by deer, such as feeding trails or clearings. Use ropes or chains to secure the feeder to a tree or sturdy post. Make sure it is at a height that allows easy access for deer while deterring other animals.
Expert Tips for Maximizing Deer Attraction
To enhance the effectiveness of your DIY deer feeder, consider the following expert tips:
Optimal Feeding Times
Deer are most active during the early morning and late evening hours. To attract them to your feeder, schedule feedings accordingly. Ideally, set up your feeder to dispense food just before sunrise and a couple of hours before sunset. This aligns with their natural feeding patterns and increases the likelihood of deer visiting your feeder.
Choosing the Right Food
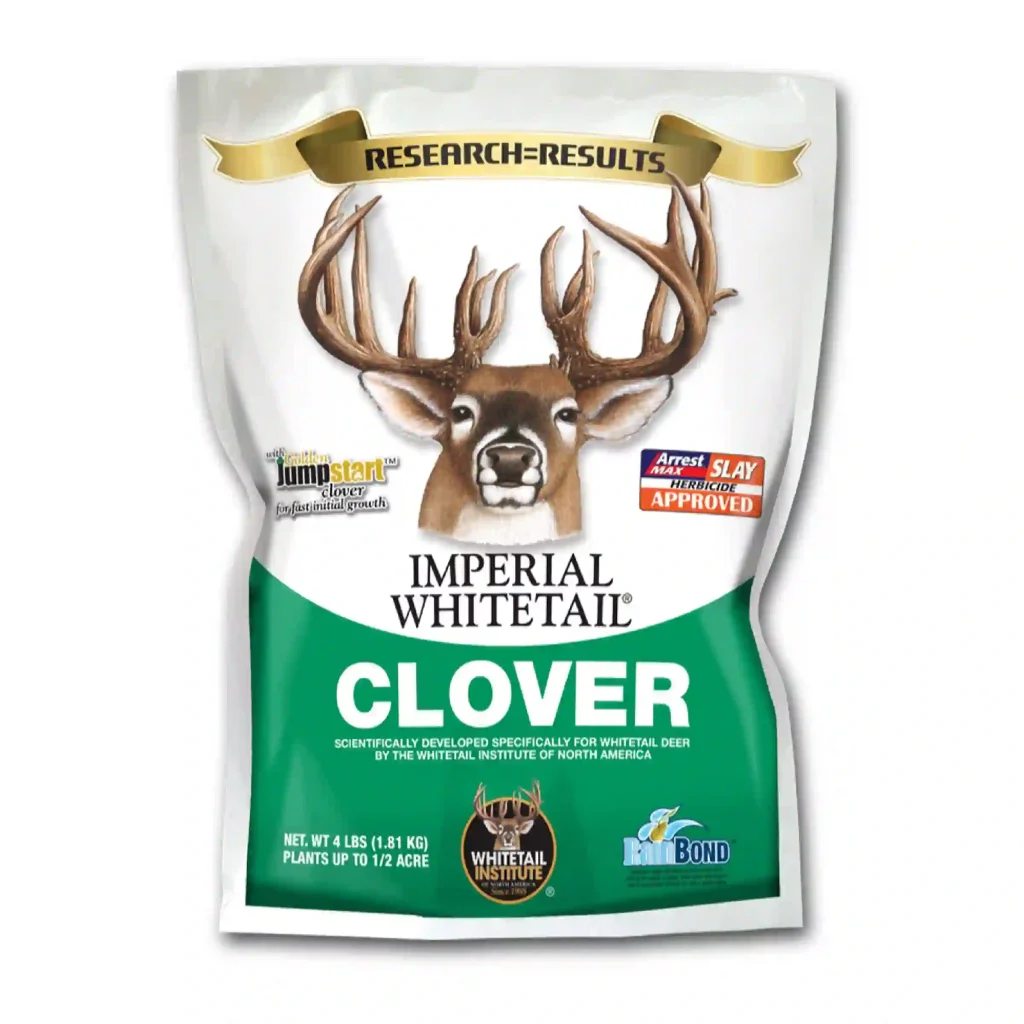

Selecting the appropriate food is crucial to attracting deer to your feeder. Corn, grains, and specially formulated deer feed are popular choices. Research local regulations regarding feeding deer in your area and ensure you are using food that is safe and beneficial for them. Avoid using harmful or non-nutritious food for deer, as it can adversely affect their health.
Locating the Feeder Strategically
The placement of your deer feeder plays a significant role in attracting deer. Choose a location that is easily accessible for deer but away from human activity. Look for areas near dense foliage, natural water sources, or known deer trails. This provides a sense of security for the deer and increases their chances of visiting your feeder.
Frequently Asked Questions (FAQs)
Q: Can I use a DIY deer feeder in any location?
A: It’s essential to check local regulations and restrictions regarding deer feeding in your area. Some regions have specific guidelines or restrictions in place to manage wildlife populations. Ensure you are complying with any rules and regulations before setting up a deer feeder.
Q: How often should I refill the feeder?
A: The frequency of refilling your deer feeder depends on various factors, including the number of deer visiting and the capacity of the feeder. Monitor the food levels regularly and replenish them when necessary. It’s important to maintain a consistent food source to attract deer consistently.
Q: Are there any safety precautions to consider?
A: When setting up your DIY deer feeder, ensure it is securely mounted and away from any potential hazards. Avoid placing the feeder near roads or areas with heavy human activity to minimize the risk of accidents. Regularly inspect the feeder for any damage or wear and tear and make necessary repairs to ensure the safety of both the deer and the surrounding environment.
Conclusion
Building a DIY deer feeder is an excellent way to attract deer to your property and establish a closer connection with nature. Following the step-by-step instructions and expert tips in this guide, you can create a functional deer feeder that provides a consistent food source for these magnificent creatures. Remember to consider the optimal feeding times, choose the right food, and strategically locate your feeder to maximize deer attraction. Enjoy the rewarding experience of observing and interacting with deer as they visit your homemade deer feeder.
Now that you have the knowledge and guidance to embark on your DIY deer feeder project, gather your materials, and start creating your deer haven. Get ready to witness the beauty and grace of deer as they grace your property, thanks to your thoughtful and well-designed deer feeder. Happy building!


