

Are you tired of your blankets cluttering your living space? Do you want an attractive and convenient solution to keep them organized and within reach? Look no further than a DIY blanket ladder! This versatile and stylish piece of furniture provides a practical storage solution and adds a touch of rustic charm to your home decor. In this article, we will guide you through the process of building your own blanket ladder, offering valuable tips and creative ideas along the way. Get ready to enhance both the functionality and aesthetics of your living space!
Table of Contents
- Choosing the Right Materials
- Building Your Blanket Ladder: Step-by-Step Guide
- FAQs
- Q1: Can I customize the size of the ladder to fit my space?
- Q2: Is it necessary to stain or paint the ladder?
- Q3: Can I use different types of wood for my blanket ladder?
- Q4: Is building a blanket ladder difficult for someone with limited DIY experience?
- Q5: Can I add additional rungs to the ladder?
- Conclusion
Choosing the Right Materials
Before embarking on your DIY project, choosing the right materials for your blanket ladder is essential. Here are some considerations:
1. Wood Selection
Select a sturdy and visually appealing wood for your ladder. Popular choices include oak, pine, or poplar. Remember that the wood should be strong enough to support the weight of your blankets.
2. Sizing and Measurements
Decide on the height and width of your ladder based on your personal preference and available space. A typical blanket ladder ranges from four to six feet in height and is around two feet wide.
3. Tools and Accessories
Ensure you have the tools and accessories to complete your project smoothly, such as a saw, drill, screws, sandpaper, and a tape measure.
Building Your Blanket Ladder: Step-by-Step Guide
Step 1: Cutting the Wood

Measure and mark the wood according to your desired ladder height and width. Use a saw to cut the wood pieces precisely.
Step 2: Sanding and Smoothing
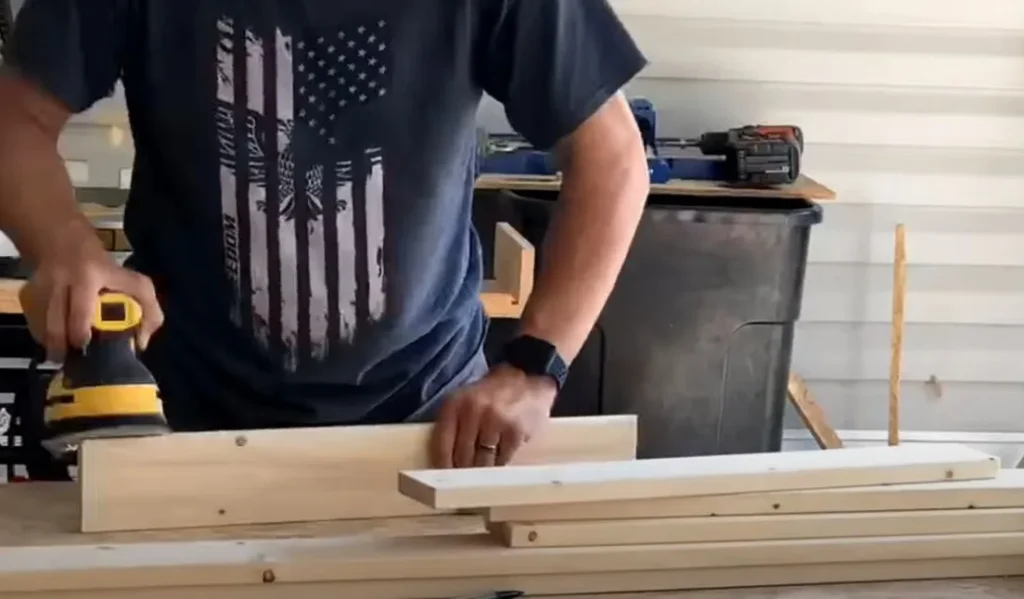
After cutting, sand the edges and surfaces of the wood to achieve a smooth finish. This step is crucial to prevent any splinters or roughness.
Step 3: Assembling the Ladder
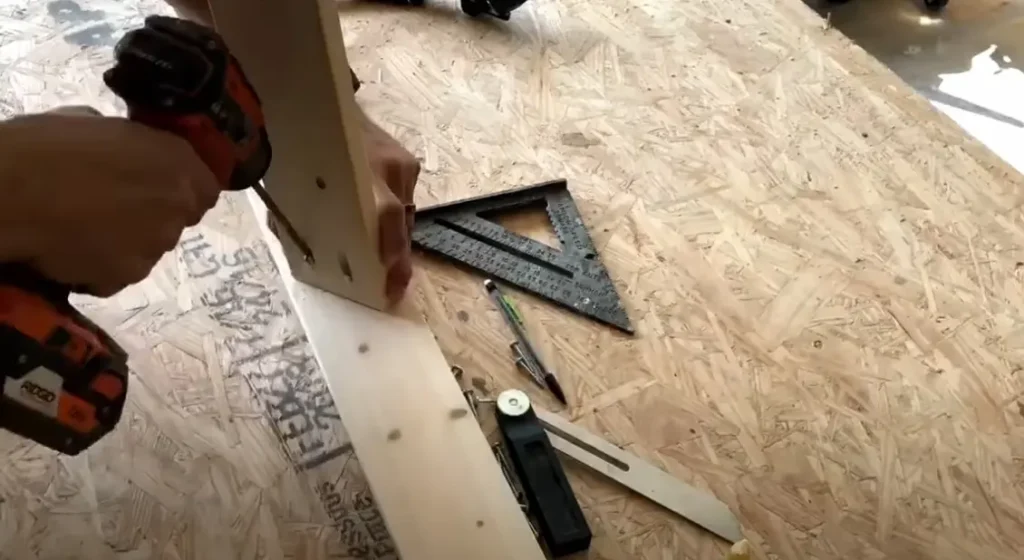

Arrange the wooden pieces in a ladder shape, ensuring that they are evenly spaced. Secure them together using screws or nails. Make sure the ladder is stable and can bear the weight of blankets.
Step 4: Finishing Touches
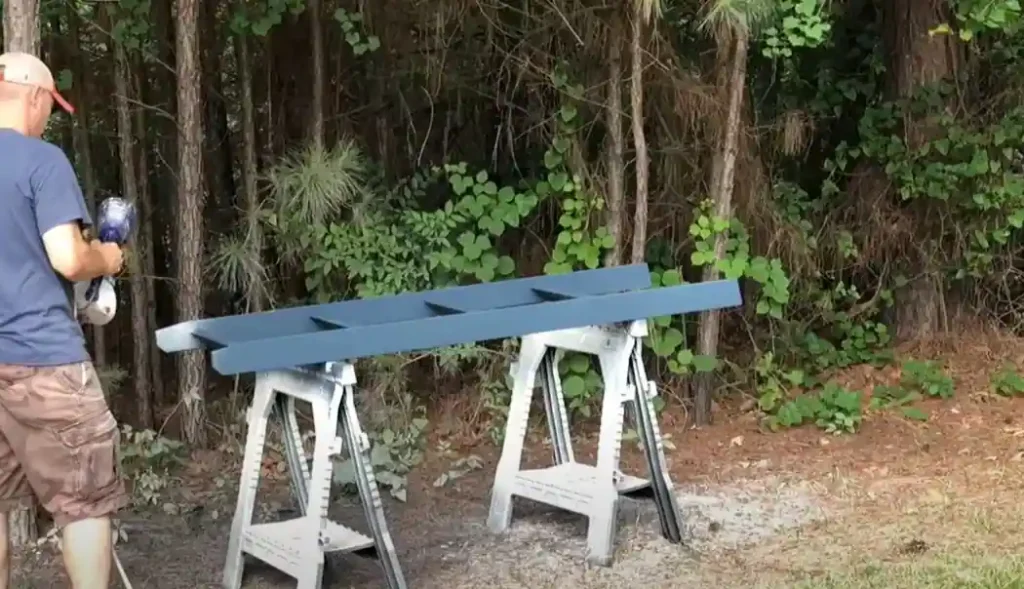
Apply a wood stain or paint of your choice to enhance the ladder’s appearance and protect it from wear and tear. Allow sufficient drying time before moving to the next step.
Step 5: Styling and Placement
Now that your DIY blanket ladder is complete, it’s time to style and place it in your home. Here are some ideas:
a. Cozy Living Room Corner
Position the ladder in a cozy corner of your living room, adorned with a variety of blankets in different colors and textures. This creates an attractive and visually appealing display.
b. Bedroom Organizer
Utilize the ladder in your bedroom as a practical storage solution for your extra blankets and throws. It adds a decorative element while keeping your blankets easily accessible.
c. Bathroom Towel Rack
Repurpose the blanket ladder as a towel rack in your bathroom. Roll up fresh towels and hang them on the ladder rungs for a spa-like and functional touch.
Idea– 731 Woodworks
FAQs
Q1: Can I customize the size of the ladder to fit my space?
Absolutely! The dimensions mentioned earlier are just guidelines. Feel free to adjust the size according to your specific requirements and available space.
Q2: Is it necessary to stain or paint the ladder?
While staining or painting is not mandatory, it adds a polished look to the ladder and protects the wood.
Q3: Can I use different types of wood for my blanket ladder?
Yes, you can choose any wood that suits your preferences and matches your existing home decor. Just ensure that the wood is strong enough to support the weight of the blankets.
Q4: Is building a blanket ladder difficult for someone with limited DIY experience?
Not at all! Building a blanket ladder is a beginner-friendly DIY project. The step-by-step guide provided in this article will help you through the process. Just take your time, follow the instructions carefully, and you’ll have your own stylish ladder in no time.
Q5: Can I add additional rungs to the ladder?
Certainly! If you have a large collection of blankets or want to create more display space, you can add extra rungs to the ladder. Just make sure to distribute them evenly and consider the ladder’s stability.
Conclusion
A DIY blanket ladder offers both functionality and style to your home. By following the step-by-step guide and choosing suitable materials, you can create a beautiful and practical piece of furniture. Whether you want to showcase your favorite cozy blankets in the living room or organize your bedroom with a touch of rustic elegance, the blanket ladder is the perfect solution.
Remember to personalize your ladder by selecting the wood, stain, or paint that matches your unique taste and home decor. Get creative with the placement and use of your ladder, transforming it into a decorative element in any room. With a DIY blanket ladder, you’ll keep your blankets organized and add a charming focal point to your living space.
So, grab your tools, select your materials, and embark on this enjoyable DIY project. Build a blanket ladder that reflects your style and enhances the comfort of your home. Happy crafting!


