
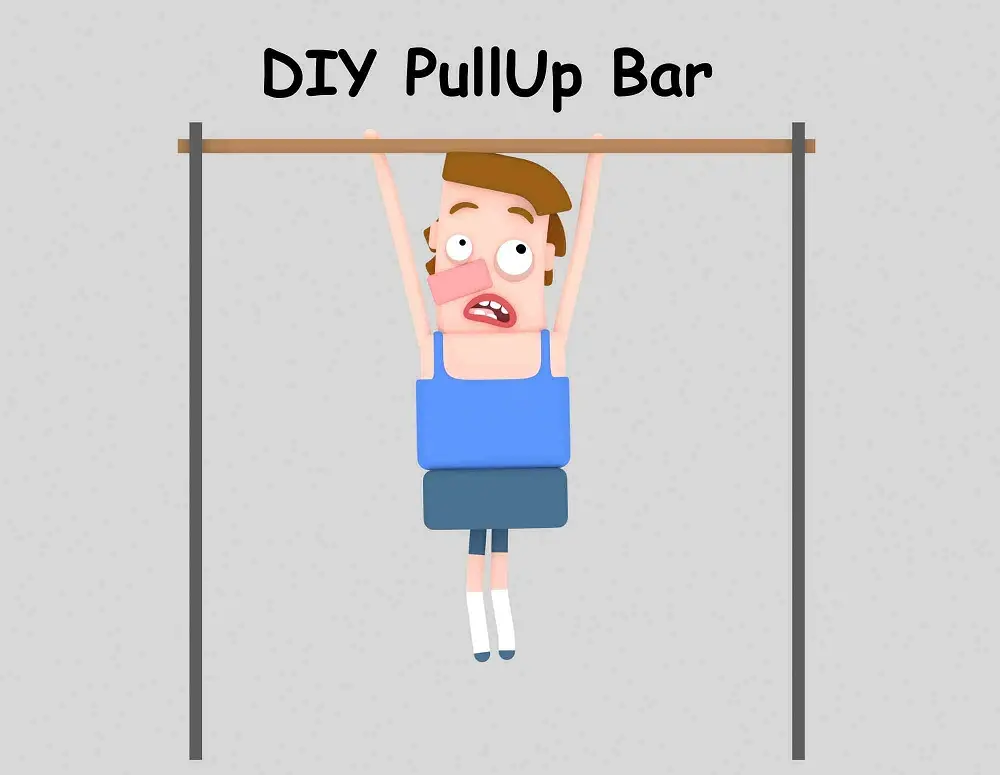
Are you looking to level up your fitness routine and build strength? The trusty pull-up is one of the most effective exercises for upper body strength. But what if you can’t make it to the gym or don’t have access to a pullup bar? Fear not! This article shows you how to create your DIY pullup bar customized to your space and preferences. Get ready to unleash your inner fitness guru and embark on a journey of strength-building right in the comfort of your own home.
Table of Contents
- Types of DIY PullUp Bars
- Materials and Tools: What You’ll Need
- Design Considerations: Tailoring to Your Needs
- Step-by-Step Construction Guide: Building Your DIY PullUp Bar
- Safety Guidelines and Maintenance: Stay Fit and Safe
- Alternatives to DIY PullUp Bars: Exploring Your Options
- Creative DIY PullUp Bar Ideas: Let Your Imagination Run Wild
- Conclusion: Unleash Your Inner Fitness Guru
Types of DIY PullUp Bars
Doorway PullUp Bars: Convenience at Your Doorstep
Imagine being able to work on your pull-ups whenever you walk through a doorway in your home. With a doorway pullup bar, it’s entirely possible! These bars are easy to install and require minimal materials. You’ll only need a sturdy bar, some brackets, and screws. Simply follow our step-by-step installation guide, and voila! You’ll have a reliable pull-up bar that won’t damage your door frame.
Wall-Mounted PullUp Bars: A Permanent Fitness Fixture
If you have a bit more space and are looking for a sturdier option, a wall-mounted pull-up bar is the way to go. Whether you want a single bar or a multi-grip setup, these bars can be customized to your preferred design. With a few basic tools and materials like steel pipes or wooden dowels, you can create a durable and dependable pull-up bar right on your wall. We’ll guide you through installation, ensuring your bar is secure and ready for intense workouts.
Outdoor PullUp Bars: Embrace Nature and Fitness

Do you enjoy soaking up the sun while you exercise? If so, an outdoor pull-up bar might perfectly fit you. By selecting a suitable location in your backyard or garden, you can create a robust pull-up bar using materials that withstand the elements. From sturdy metal pipes to repurposed materials, we’ll provide construction and installation instructions to transform your outdoor space into a fitness haven.
Materials and Tools: What You’ll Need
Before diving into the construction process, let’s gather the necessary materials and tools. Don’t worry; you won’t need a fancy workshop or a toolbox bursting with equipment. Here’s a simple list to get you started:
Materials:
- Sturdy bar (steel, wooden dowel, or metal pipe)
- Brackets (for doorway and wall-mounted bars)
- Screws and anchors (for wall-mounted bars)
- Protective padding (optional for comfort)
Tools:
- Tape measure
- Level
- Drill
- Screwdriver
- Wrench or pliers (if needed)
- Safety goggles
Remember, safety is paramount! Make sure to wear safety goggles when using power tools and follow proper guidelines throughout the construction process.
Design Considerations: Tailoring to Your Needs
Before grabbing your tools, take a moment to consider your available space and preferences. Here are some factors to keep in mind:
Determining Available Space and Dimensions
Take measurements of the designated area for your pull-up bar. Consider both height and width to ensure you have enough room to perform various exercises comfortably.
Weight Capacity and Structural Stability
A secure pullup bar is essential for your safety. Depending on your body weight and fitness goals, choose materials and supports that can withstand the load. Ensure that your installation is structurally stable to prevent accidents during intense workouts.
Adjustability and Customization Options
Would you like to incorporate additional exercises into your routine? Consider designing an adjustable pull-up bar that allows for different grip positions or the attachment of accessories like TRX bands or gymnastic rings. Get creative and personalize your fitness setup!
Comfort Features
If you’re planning on spending a lot of time hanging from your pull-up bar, adding protective padding or grip tape can enhance your comfort and reduce the risk of blisters or calluses. Pay attention to the small details that can make a big difference in your workout experience.
Step-by-Step Construction Guide: Building Your DIY PullUp Bar
Now that you’ve gathered your materials and considered your design, it’s time to get your hands dirty and start building! Follow these steps to construct your own pull-up bar:
Step 1: Preparing Materials and Measuring
Measure and mark the dimensions of your pull-up bar based on the available space. Double-check your measurements to ensure accuracy before moving on to the next steps.
Step 2: Cutting, Drilling, and Shaping Components
Using the appropriate tools, cut the bar to the desired length and shape any additional components, such as brackets or supports. Smooth out any rough edges for a polished finish.
Step 3: Assembling the Pull-Up Bar Structure
Attach the bar to the designated location (doorway, wall, or outdoor structure) using the brackets or supports. Follow the provided installation instructions for the specific type of pull-up bar you’ve chosen.
Step 4: Securing the Bar
Double-check the stability of your pull-up bar. Ensure all screws and brackets are tight and secure. Give the bar a gentle test to ensure it can support your weight without any wobbling or movement.
Safety Guidelines and Maintenance: Stay Fit and Safe
Congratulations! You’ve successfully built your own pull-up bar. However, keeping safety in mind as you embark on your fitness journey is essential. Here are some guidelines to follow:
Ensuring Proper Installation for Stability and User Safety
Regularly inspect your pull-up bar to ensure it remains stable and securely attached. Check for any signs of wear and tear, such as loose screws or damaged brackets, and address them promptly.
Regular Inspection for Wear and Tear
Perform routine maintenance checks to ensure the structural integrity of your pull-up bar. Check for any signs of rust or corrosion, and replace worn-out parts as needed.
Cleaning and Maintenance Tips
Keep your pull-up bar clean and free of dirt or debris. Regularly wipe it down with a damp cloth, and use a rust-preventive spray if your bar is exposed to outdoor elements.
User Guidelines to Prevent Injuries
Remember to warm up properly before using your pull-up bar and to listen to your body’s limits. Gradually increase the intensity of your workouts over time, and consult a fitness professional if you have any concerns or specific training goals.
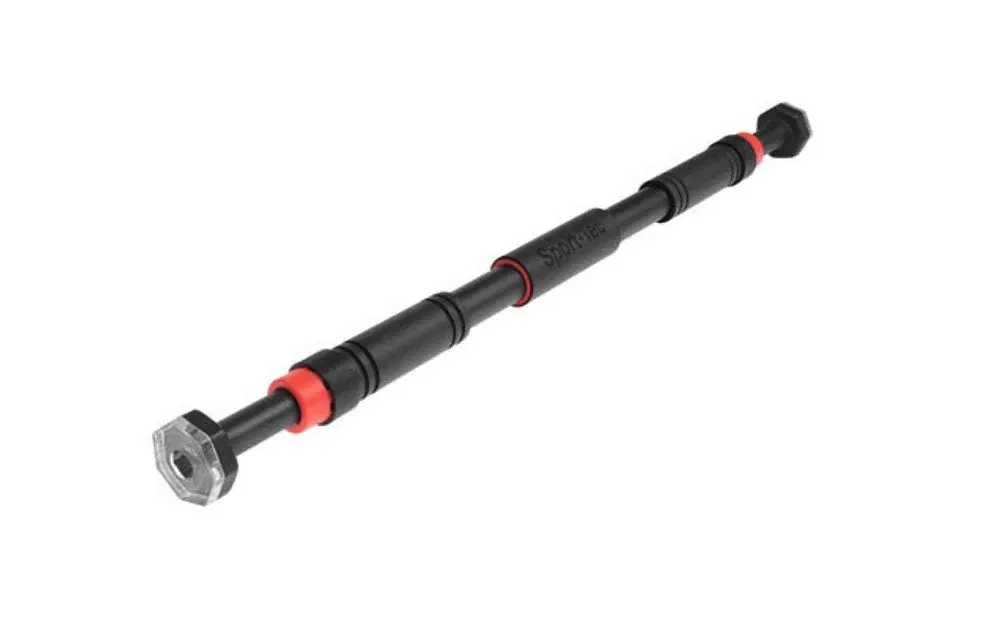
Alternatives to DIY PullUp Bars: Exploring Your Options
If building your own pull-up bar isn’t your cup of tea, commercially available options may suit your needs. While they may come at a higher price, they often provide additional features, such as adjustable grips or built-in workout programs. Consider your budget and preferences before making a decision.
Creative DIY PullUp Bar Ideas: Let Your Imagination Run Wild

If you’re feeling adventurous, why not think outside the box and explore creative DIY pull-up bar ideas? From using tree branches in your backyard to repurposing playground structures, there are endless possibilities to create a unique fitness setup. Get inspired by others who have shared their success stories, and let your imagination fuel your fitness journey.
Conclusion: Unleash Your Inner Fitness Guru
Building a DIY pullup bar doesn’t have to be complicated or expensive. With creativity and determination, you can create a fitness haven right in your home. Embrace the challenge, follow our step-by-step guide, and remember to prioritize safety and quality throughout the construction process.
By building your own pull-up bar, you’re saving money and creating a personalized fitness tool that fits your needs perfectly. Whether you choose a doorway, wall-mounted, or outdoor setup, the satisfaction of crafting something with your own hands is unmatched.
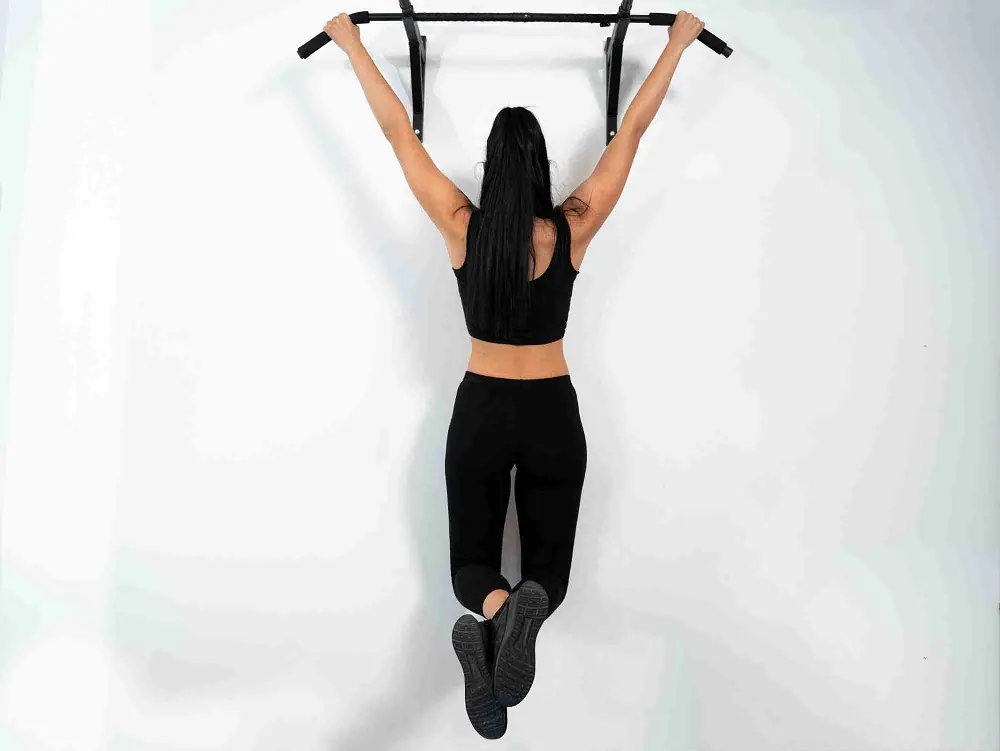
Once your pullup bar is ready, it’s time to put it to good use. Start incorporating pull-ups into your workout routine, gradually increasing the number of reps and sets as you build strength. Challenge yourself with different grip positions and variations to target various muscle groups.
But don’t stop at pull-ups alone. Your DIY pullup bar can also serve as a versatile platform for other exercises. Hang suspension trainers or resistance bands for a full-body workout. Use the bar for hanging leg raises or knee tucks to engage your core. Get creative and explore the possibilities.
Remember, fitness is a journey, and consistency is key. Make your DIY pullup bar a focal point of your fitness routine, and watch as your strength and endurance improve over time. Celebrate your milestones, no matter how small, and embrace the sense of accomplishment that comes with taking control of your own fitness journey.
So, are you ready to embark on this DIY adventure? Gather your materials, put on your work gloves, and let the construction process begin. Get ready to transform your home into a fitness sanctuary and unleash your inner fitness guru.
Are you excited to build your own DIY pullup bar? Start now and witness its positive impact on your fitness journey. Embrace the challenge, embrace the sweat, and embrace the feeling of accomplishment as you conquer new heights with each pullup. You’ve got this!
Now, it’s time to turn your aspirations into action. Grab those tools, unleash your creativity, and build the DIY pull-up bar of your dreams. Your fitness goals await, and your DIY pullup bar will be there every step of the way, supporting you in achieving them. Get ready to experience the satisfaction of a well-built pull-up bar and the thrill of reaching new fitness heights. Your journey starts now. Happy building and happy pull-ups!


My cousin suggested this website to me. While I cannot confirm whether this post was written by him, no one else is as knowledgeable as you are regarding my difficulty. Your assistance is greatly appreciated.