

Are you tired of cluttered note-taking and disorganized brainstorming sessions? It’s time to take matters into your own hands and create your very own DIY dry erase board. With just a few simple materials and a dash of creativity, you can have a versatile and personalized tool to help you stay organized, jot down ideas, and unleash your imagination. In this article, we’ll guide you through the step-by-step process of creating your own dry erase board, providing tips, tricks, and ideas.
Table of Contents
- Why Choose a DIY Dry Erase Board?
- Materials Needed
- Step 1: Selecting the Perfect Surface
- Step 2: Preparing the Surface
- Step 3: Applying the Dry Erase Coating
- Step 4: Customizing Your Dry Erase Board
- Step 5: Mounting and Displaying Your Board
- FAQs
- Conclusion
Why Choose a DIY Dry Erase Board?

Before we dive into the nitty-gritty of creating your own dry erase board, you may wonder why you should opt for a DIY solution instead of purchasing a ready-made one. Here are a few reasons to get your creative juices flowing:
- Cost-Effective: Making your own dry erase board can be significantly more budget-friendly than buying a commercially available one. Plus, you have the freedom to choose materials that suit your preferences and budget.
- Customization: DIY dry erase boards offer endless possibilities for customization. You can select the size, shape, and design best suits your needs. Let your imagination run wild, and create a board that reflects your unique style.
- Versatility: Whether you need a dry erase board for your home, office, or school, a DIY option allows you to tailor it to your specific requirements. From to-do lists and reminders to project planning and artistic expression, your board can adapt to various purposes.
Materials Needed
To get started on your DIY dry erase board, gather the following materials:
- A smooth surface (such as a piece of glass, acrylic, or melamine board)
- Dry erase coating or paint
- Paintbrush or roller
- Sandpaper
- Primer (if required)
- Masking tape
- Chalkboard markers or dry erase markers
- Optional: Frame materials (wood, decorative moldings, etc.)
Step 1: Selecting the Perfect Surface
The first step in creating your dry erase board is choosing the right surface. Consider the size and location where you plan to hang or display the board. Glass, acrylic, or melamine boards work well due to their smooth and easy-to-clean nature. Measure the available area and acquire a surface that fits your dimensions.
Step 2: Preparing the Surface
To ensure the dry erase coating adheres properly, it’s important to prepare the surface accordingly. If you’re working with a porous material like wood or MDF, apply a primer to create a smooth base. For non-porous surfaces like glass or acrylic, use sandpaper to roughen the surface slightly, allowing the coating to bond better.
Step 3: Applying the Dry Erase Coating
Now comes the exciting part—applying the dry erase coating. Follow the instructions provided with the coating product you’ve chosen. Using a paintbrush or roller, apply thin, even coats in one direction, allowing sufficient drying time between each coat. Ensure complete coverage for optimal erasability.
Step 4: Customizing Your Dry Erase Board
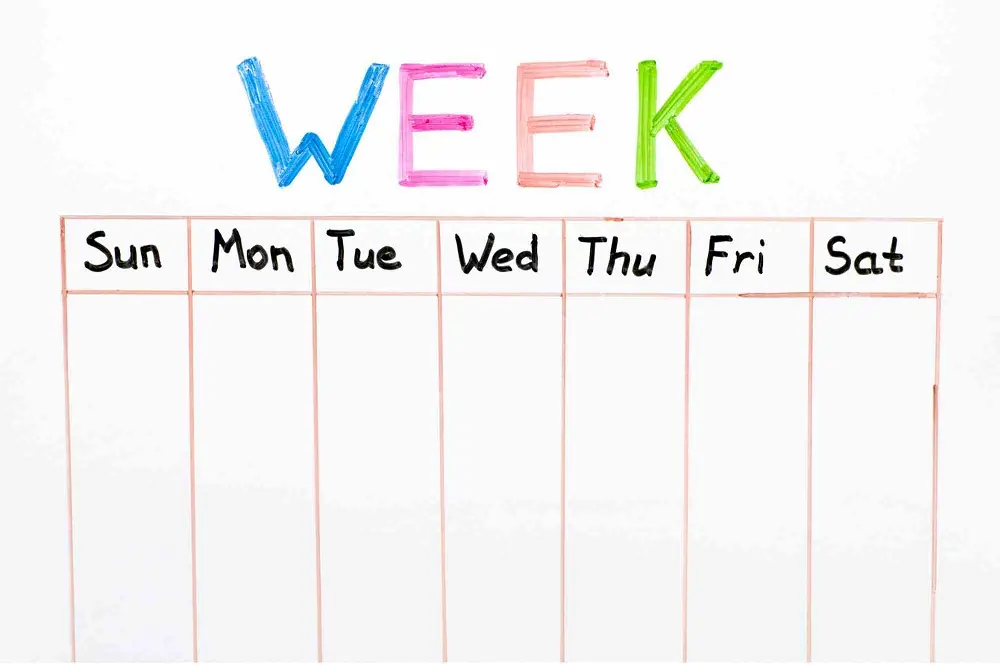
Let your creativity shine by personalizing your dry erase board. You can add borders, sections, or even a calendar grid using masking tape and different colors of dry erase markers. Experiment with different designs, patterns, and shapes that align with your style and purpose. Remember, the goal is to make your board visually appealing and functional at the same time.
Additionally, consider adding some organizational elements to maximize the board’s utility. Attach small containers or pockets to hold markers, erasers, and other accessories. You can also easily incorporate magnetic strips or clips to display documents, notes, or inspirational images.
Step 5: Mounting and Displaying Your Board
Once your DIY dry erase board is complete, it’s time to find the perfect spot to showcase your creation. Consider the intended use and accessibility when choosing the location. Common options include home offices, kitchens, classrooms, or collaborative workspaces.
Mounting your board can be as simple as using adhesive strips or hooks suitable for the surface material. If you prefer a more decorative approach, you can build a frame using wood or decorative moldings that adds a finished look and enhances the overall aesthetic appeal.
FAQs
Q: Can I use any markers on a DIY dry erase board?
A: Use specifically designed dry erase markers on your board is recommended. Regular markers or permanent markers may leave stains or be challenging to erase.
Q: How do I clean my DIY dry erase board?
A: Cleaning your board is easy. Use a soft cloth or an eraser designed for dry erase surfaces. A mild solution of water and vinegar can be used for stubborn marks.
Q: Can I make a larger-sized DIY dry erase board?
A: Absolutely! You can scale up the size of your dry erase board by using more extensive surface materials. Just ensure the surface is sturdy and properly mounted to support the weight.
Q: Can I remove the dry erase coating if I want to change the design?
A: Yes, in most cases, the dry erase coating can be removed by following the instructions provided with the product. This allows you to start fresh with a new design or make modifications to the existing one.
Conclusion
Creating your own DIY dry erase board opens up a world of possibilities for organization, creativity, and productivity. Following the steps outlined in this guide, you can unleash your imagination and design a board that fits your unique needs and style. Remember to choose a suitable surface, prepare it properly, apply the dry erase coating carefully, and let your creativity shine when customizing the board. With your DIY masterpiece mounted and ready for action, you’ll find yourself more organized, focused, and inspired than ever before. So, grab your materials, let your ideas flow, and enjoy the benefits of your personalized DIY dry erase board!


Fantastic site Lots of helpful information here I am sending it to some friends ans additionally sharing in delicious And of course thanks for your effort