
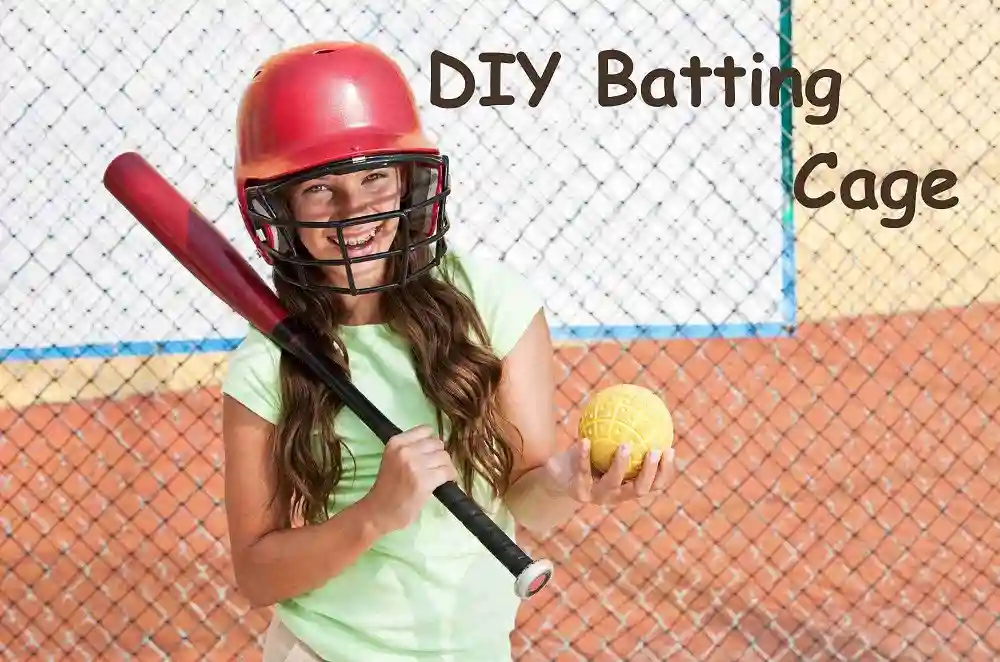
Are you a baseball or softball enthusiast looking to improve your batting skills? Do you want to practice your swing in the comfort of your own backyard? Building a DIY batting cage can be a fantastic solution! In this comprehensive guide, we’ll walk you through the step-by-step process of constructing your very own batting cage. By following these instructions, you’ll have a sturdy and functional setup that allows you to hone your batting technique and take your game to the next level.
Table of Contents
- Materials Needed
- Step 1: Choosing the Right Location
- Step 2: Measuring and Marking
- Step 3: Installing the Poles
- Step 4: Attaching the Netting
- Step 5: Adding Extra Support
- Step 6: Adding Accessories
- Step 7: Safety Precautions
- Step 8: Maintenance and Care
- FAQs
- Conclusion
Materials Needed
Before we dive into the construction process, let’s gather the necessary materials for your DIY batting cage project. Here’s what you’ll need:
- Netting: High-quality batting cage netting that is durable and weather-resistant.
- Poles: Sturdy metal or PVC poles to provide structural support for the netting.
- Ground Stakes: Heavy-duty stakes to secure the poles firmly into the ground.
- Ropes and Carabiners: To attach and tension the netting securely.
- Anchors: Additional support for windy conditions, such as sandbags or concrete blocks.
- Tools: Including a tape measure, drill, saw, hammer, and level.
Step 1: Choosing the Right Location

Selecting the optimal location for your batting cage is crucial. Here are a few key considerations:
- Size: Ensure you have enough space for the batting cage, allowing ample room for swinging and follow-through.
- Level Ground: Look for an area with flat and even ground to ensure stability.
- Safety: Ensure no overhead obstructions, such as branches or power lines.
Step 2: Measuring and Marking
Once you’ve found the perfect spot, it’s time to measure and mark the dimensions of your batting cage. Follow these steps:
- Measure your batting cage’s desired length, width, and height using tape.
- Mark the corners of the cage using stakes or flags to indicate the boundaries.
Step 3: Installing the Poles
The poles provide the framework for your batting cage. Follow these steps to install them securely:
- Dig holes for the poles at each corner of the marked area. The depth should be approximately one-third of the pole’s length.
- Insert the poles into the holes and use a level to ensure they are straight.
- Fill the holes with soil and firmly compact them around the poles for stability.
Step 4: Attaching the Netting
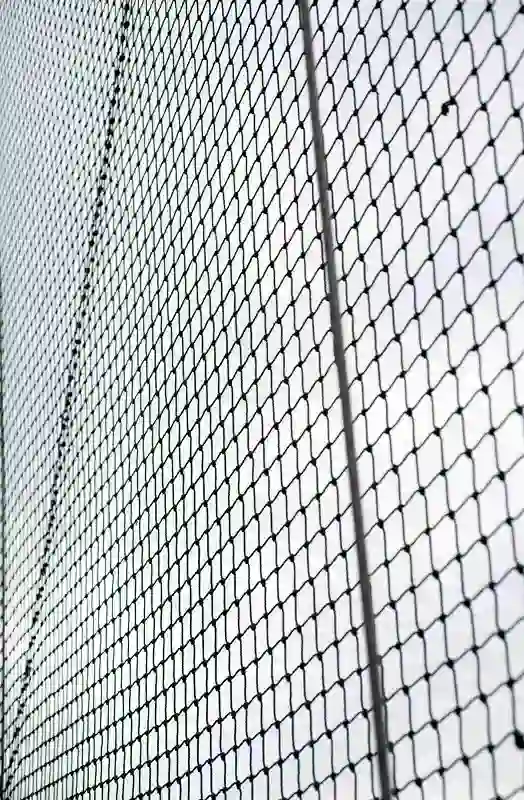
Now it’s time to attach the netting to the poles. Here’s how you can do it effectively:
- Unroll the batting cage netting and position it along one side of the poles.
- Use ropes and carabiners to secure the netting to the poles, ensuring a tight and even fit.
- Repeat this process for the remaining sides, making sure the netting is taut and properly tensioned.
Step 5: Adding Extra Support
For added stability, consider implementing extra support measures. Here are a couple of options:
- Attach ropes or cables from the top of the poles to anchor points in the ground, creating a truss-like structure.
- Place sandbags or concrete blocks around the base of each pole to prevent shifting in windy conditions.
Step 6: Adding Accessories
To enhance your batting experience, consider adding a few accessories to your DIY batting cage. Here are some options you can consider:
- Backstop Net: Install a backstop net behind the batting cage to catch any balls that may go beyond the cage. This will prevent them from causing damage or getting lost.
- Pitching Machine: If you want to simulate game-like conditions, you can invest in a pitching machine. It will help you practice timing and reaction to different pitch speeds and types.
- Turf or Mat: Lay down artificial turf or a batting mat inside the cage to provide a consistent and comfortable surface for hitting. This can mimic the feel of a real baseball or softball field.
- Lighting: If you plan to practice during evenings or in low-light conditions, consider installing suitable lighting around the batting cage. This will ensure visibility and extend your practice hours.
- Batting Tee: A batting tee is a valuable tool for practicing your swing and focusing on hitting specific strike zone areas. It provides a stable platform for consistent batting practice.
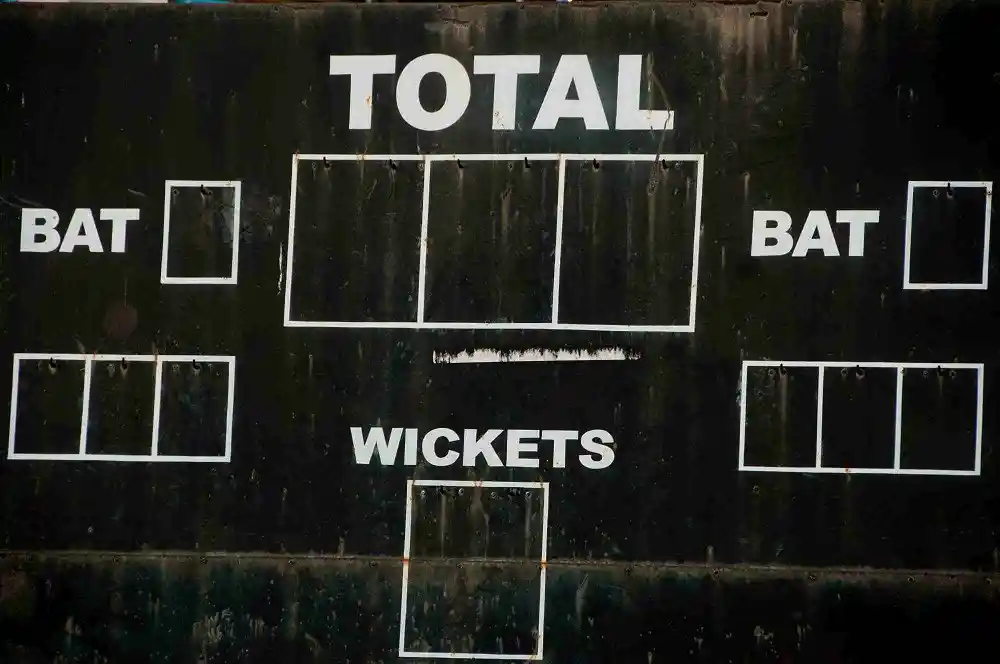
- Scoreboard: Install a small scoreboard inside or near the batting cage to keep track of your hits, strikes, or other performance metrics. This can add a competitive element to your practice sessions.
- Seating and Shade: Consider adding seating arrangements or a shaded area near the batting cage for spectators or a comfortable spot to take a break during practice.
Step 7: Safety Precautions

Safety should be a top priority while building and using your DIY batting cage. Here are a few necessary safety precautions to keep in mind:
- Clear Surroundings: Ensure that the area around the batting cage is clear of any obstacles or hazards, such as rocks, equipment, or tripping hazards.
- Protective Padding: Consider adding padding to the poles or any other potential impact points within the batting cage to prevent injuries in case of accidental collisions.
- Use Caution with Pitching Machines: Always follow the manufacturer’s instructions and safety guidelines if you’re using a pitching machine. Be aware of the potential dangers associated with pitching machine usage and take appropriate precautions.
- Adult Supervision: If children are using the batting cage, make sure there is always adult supervision to ensure safe and responsible usage.
Step 8: Maintenance and Care
Regular maintenance is essential to ensure your DIY batting cage’s longevity. Here are a few maintenance tips to keep in mind:
- Inspect the Netting: Regularly inspect the netting for any signs of wear, damage, or fraying. Replace or repair any damaged sections promptly to maintain the safety and functionality of the cage.
- Clean the Netting: Use a soft brush or cloth to remove dirt, debris, or any buildup on the netting. This will help maintain its performance and extend its lifespan.
- Check Poles and Anchors: Periodically check the poles and anchors for stability and make any necessary adjustments or repairs. Ensure the structure remains secure and sturdy.
FAQs
Q: How much space do I need for a DIY batting cage?
A: Ideally, you should have a minimum area of 40 feet in length, 10 feet in width, and 10 feet in height for an effective batting cage practice.
Q: What type of netting should I use for the batting cage?
A: It is recommended to use high-quality batting cage netting specifically designed for baseball or softball use. Look for durable, UV-protected, and weather-resistant netting to ensure its longevity.
Q: Can I use PVC poles instead of metal poles?
A: PVC poles can be a cost-effective alternative to metal poles. Just make sure to choose thick and sturdy PVC pipes that can withstand the tension of the netting.
Q: How do I tension the netting properly?
A: To tension the netting, use ropes or cables threaded through the edges of the netting. Attach the ropes to the poles and adjust the tension until the netting is tight and free from sagging.
Q: Can I dismantle the batting cage when not in use?
A: Yes, most DIY batting cages can be easily dismantled if needed. This allows you to store or move the cage when it’s unused. Ensure you keep track of the disassembly process to simplify reinstallation.
Conclusion
Building a DIY batting cage can be a rewarding project that allows you to practice your batting skills at home. By following the steps outlined in this guide, you can construct a sturdy and functional batting cage that meets your specific needs. Remember to choose the right location, gather the necessary materials, and carefully install the poles and netting. With your own batting cage, you’ll have the perfect training ground to improve your swing, technique, and overall performance in baseball or softball. So grab your bat and get ready to hit it out of the park!
Remember, practice makes perfect, and with your DIY batting cage, you’ll have plenty of opportunities to refine your skills and become a formidable hitter. So go ahead, take on the challenge, and enjoy the benefits of having your very own batting cage in the comfort of your backyard. Happy swinging!


I do agree with all the ideas you have introduced on your post They are very convincing and will definitely work Still the posts are very short for newbies May just you please prolong them a little from subsequent time Thank you for the post