
Building your own DIY dumbbell rack may be the perfect solution if you’re looking to organize your home gym and save money on expensive weight racks. A DIY dumbbell rack is not only an affordable option but also customizable to fit your specific needs. This article will guide you through building your DIY dumbbell rack.
Table of Contents
- Introduction
- Materials Needed
- Step-by-Step Instructions for Building Your DIY Dumbbell Rack
- Tips for Customizing Your DIY Dumbbell Rack
- Maintaining Your DIY Dumbbell Rack
- Final Thoughts
Introduction
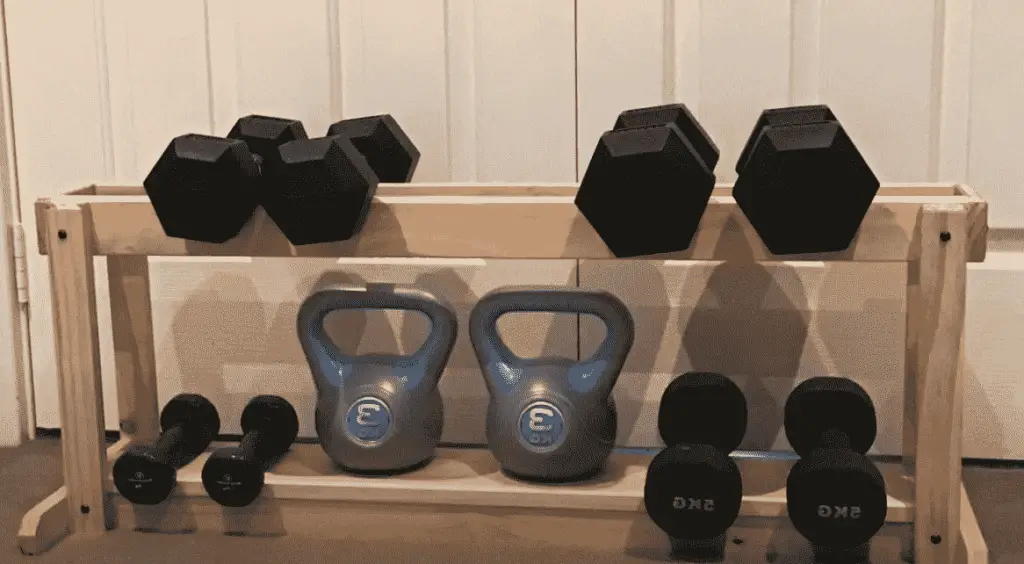
Building your DIY dumbbell rack is a simple and cost-effective way to store your weights. A dumbbell rack helps to keep your weights organized, easy to access, and out of the way. A DIY dumbbell rack is customizable to fit your weight and space requirements. This article will walk you through building your DIY dumbbell rack step-by-step.
Materials Needed
- 2×4 lumber
- Plywood sheet
- Circular saw
- Drill
- Wood screws
- Measuring tape
- Pencil
- Sandpaper
- Paint or Stain (optional)
Step-by-Step Instructions for Building Your DIY Dumbbell Rack
Step 1: Determine the Size of Your Rack

Before you build your DIY dumbbell rack, you must determine the shelf size that will fit your weights. Measure your dumbbells’ length, width, and height, and plan how many dumbbells you need to store. You can adjust the dimensions of the rack based on the size of your dumbbells.
Step 2: Cut Your Lumber

Once you have determined the size of your rack, you can begin cutting your lumber. Cut two 2x4s to the length of your rack and two 2x4s to the width of your rack. Then, cut four more 2x4s to the height of your rack minus the thickness of the plywood sheet.
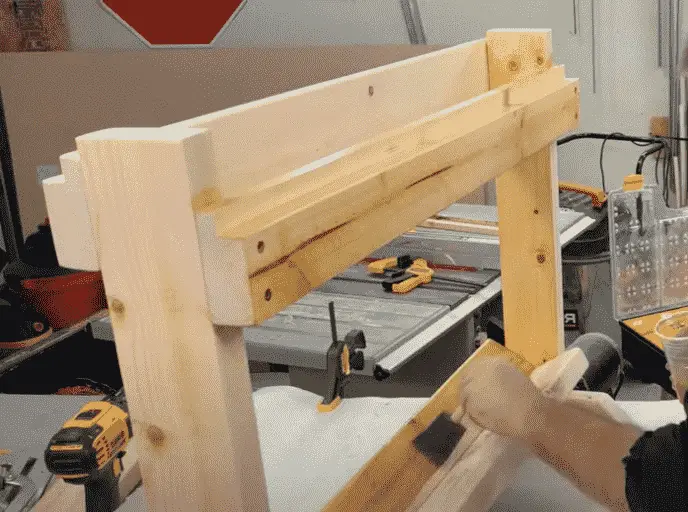
Step 3: Assemble the Frame


Lay out the four cuts 2x4s for the height of your rack. Then, attach the two 2x4s for the length of your rack to the top of the four cut 2x4s using wood screws. Next, attach the two 2x4s for the width of your rack to the bottom of the four cut 2x4s using wood screws.
Step 4: Cut and Attach Plywood Sheet
Cut a piece of plywood sheet to the dimensions of your rack. Then, attach the plywood sheet to the top of the frame using wood screws. This will create a stable surface for your dumbbells to rest on.
Step 5: Sand and Finish
Sand the entire rack to ensure there are no rough edges or splinters. Then, you can paint or stain the rack to match your home gym decor.
Tips for Customizing Your DIY Dumbbell Rack
Once you’ve built your basic DIY dumbbell rack, you can customize it to fit your specific needs and preferences. Here are some tips to get you started:
- Add casters or wheels to make your rack easy to move around.
- Paint or stain the wood to match your home gym decor.
- Add hooks or pegs to hang resistance bands or other accessories.
- Use different types of wood or finishes to create a unique and personalized look.
- Add additional shelves or compartments to store other gym equipment, such as kettlebells or yoga mats.
Maintaining Your DIY Dumbbell Rack
To keep your DIY dumbbell rack in good condition, it’s important to maintain it properly. Here are some tips to help you care for your rack:
- Clean your rack regularly with a damp cloth to remove dust and debris.
- Avoid placing heavy items on the rack that exceed its weight capacity.
- Inspect the rack periodically for signs of wear and tear, such as cracks or splits in the wood.
- Sand and refinish the rack as needed to prevent splinters or rough edges.
Final Thoughts
Building a DIY dumbbell rack is a fun and rewarding project that can save money and help you organize your home gym. Following these step-by-step instructions and using high-quality materials, you can create a customized rack that will meet all your needs. Remember to choose the suitable wood for the job, customize the rack to fit your preferences, and maintain it properly to keep it in good condition. With your new DIY dumbbell rack, you can easily work out and keep your home gym clutter-free.


