
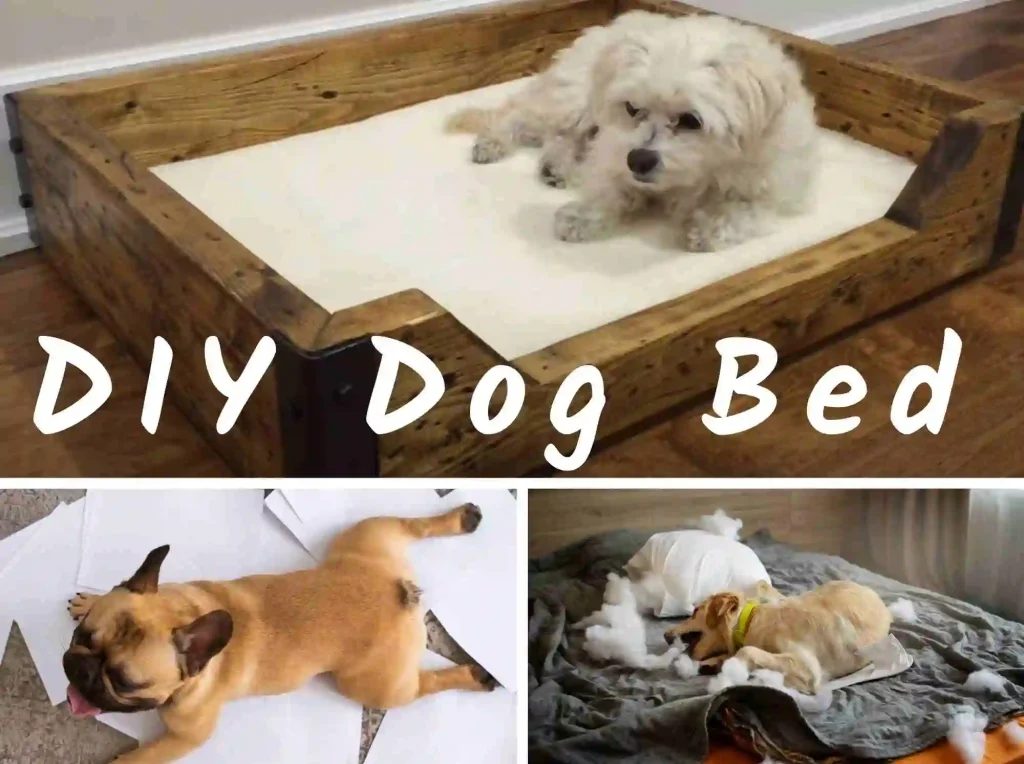
Welcoming a furry companion into your home is responsible for providing them with a comfortable place to rest. While countless dog bed options are available in the market, why not embark on a fun and rewarding project by creating a DIY dog bed? Not only will you be able to customize it to suit your dog’s unique needs, but you’ll also save money in the process. In this article, we’ll guide you through the steps to create a comfortable, cost-effective dog bed that your canine companion will love.
Table of Contents
- Section 1: Materials and Tools
- Section 2: Design and Construction
- Section 3: Personalization and FAQs
- Conclusion
Section 1: Materials and Tools
To get started, gather the following materials and tools:
Materials
- Sturdy fabric or old blankets
- Foam or cushion filling
- Wooden pallets or a sturdy base material
- Fabric scissors
- Sewing machine or needle and thread
- Measuring tape
Tools
- Saw (if using wooden pallets)
- Screwdriver (if using wooden pallets)
- Staple gun
- Hot glue gun (optional)
- Decorative fabric or embellishments (optional)
Section 2: Design and Construction
Step 1: Measure and Prepare

Begin by measuring the desired dimensions for your dog bed. Consider your dog’s size and sleeping habits. If your dog loves to stretch out, opt for a larger bed, while a smaller bed will suffice for a dog that curls up when sleeping. Once you have the measurements, cut the fabric or old blankets accordingly, leaving a few extra inches for sewing.
Step 2: Sewing or Assembling the Bed

If you have sewing skills, use a sewing machine or needle and thread to sew the fabric together, leaving one side open for inserting the cushion filling. Sewing gives you more control over the bed’s durability and aesthetics. However, if sewing isn’t your forte, you can use a hot glue gun to secure the fabric edges instead. Alternatively, repurpose an old pillowcase or duvet cover and insert the cushion filling into it.
Step 3: Adding Support and Comfort
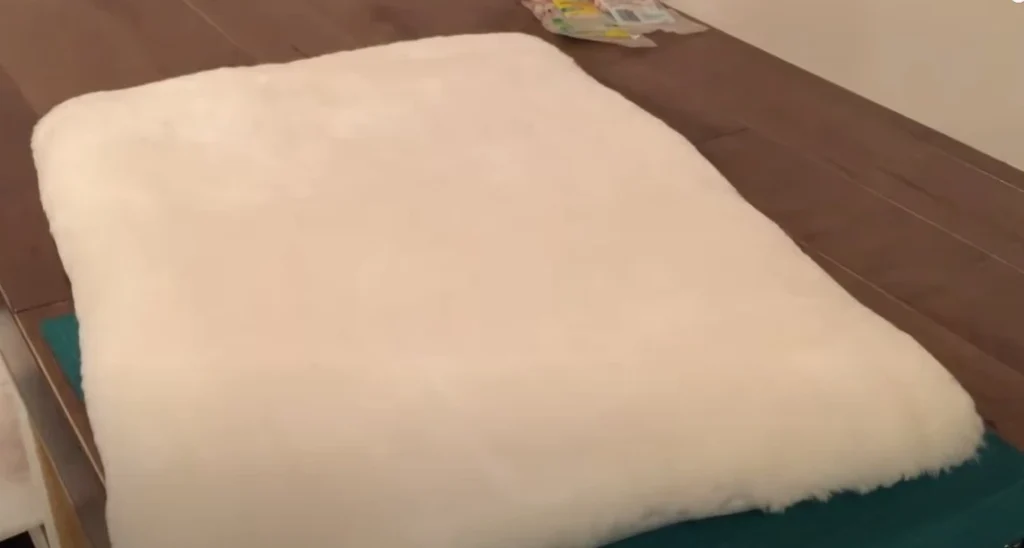
To support and comfort your furry friend, consider using foam or cushion filling for the bed. Cut the foam or cushion filling to fit the dimensions of your dog bed, and insert it through the open side. Ensure that the filling is distributed evenly for optimal comfort. Suppose you’re using a sewn fabric bed. In that case, you can create compartments within the bed by stitching vertical lines to prevent the filling from shifting.
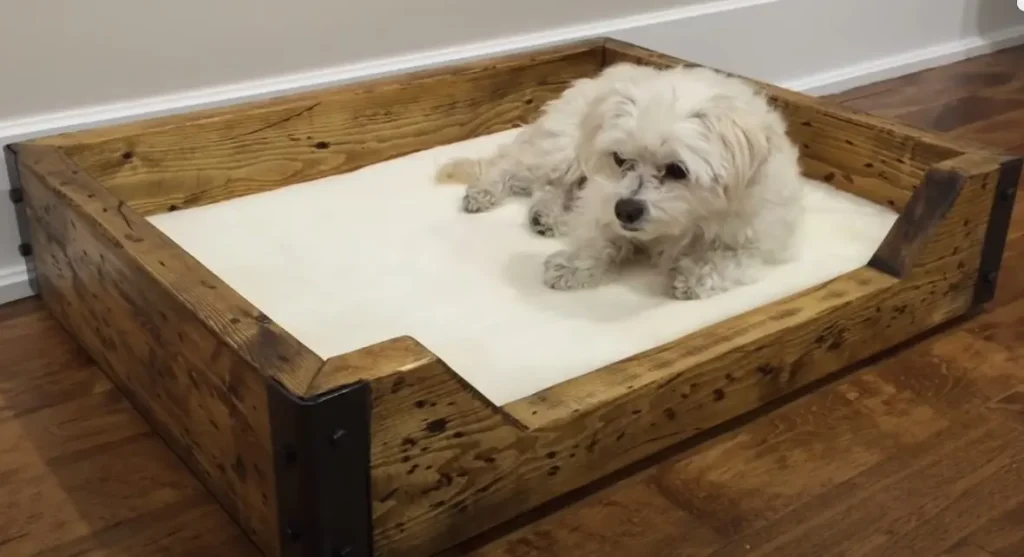
Step 4: Building a DIY Frame (Optional)
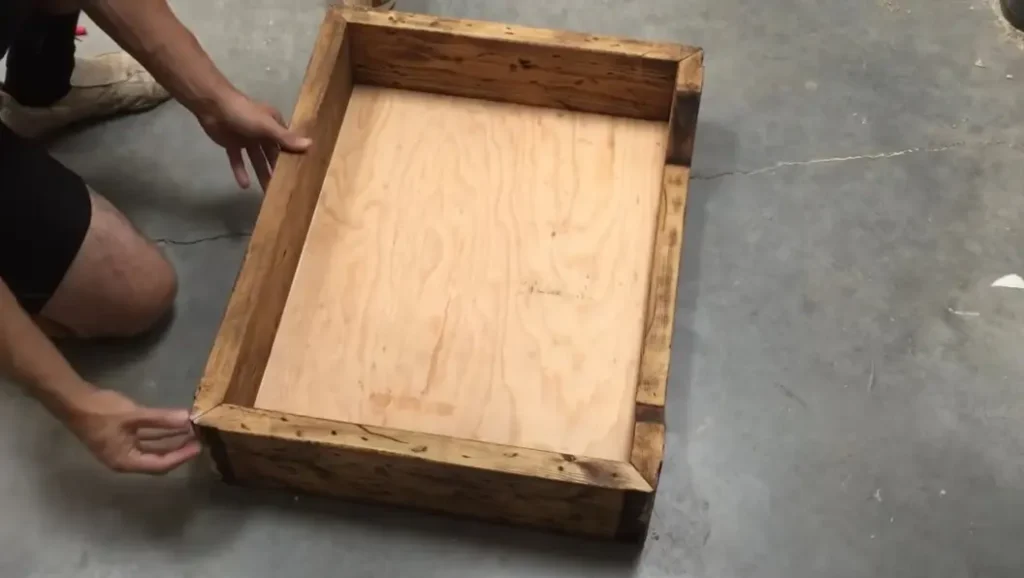
You can create a frame for an elevated dog bed using wooden pallets or other sturdy materials. Measure and cut the pallets to the desired size, and assemble them using screws and a screwdriver. Place the sewn or assembled bed on top of the frame, and secure it using a staple gun. This elevated design helps keep your dog off cold floors and provides better air circulation.
Image Credit – Corey Rametta
Section 3: Personalization and FAQs
Personalization Ideas
Make your DIY dog bed extra special by adding personal touches:
- Sew on your dog’s name or initials using colorful thread.
- Attach decorative fabric or ribbons to the corners for a touch of style.
- Embellish the bed with your dog’s favorite toys or photographs using non-toxic glue.
FAQs
1. Can I use recycled materials for my DIY dog bed?
Absolutely! Repurposing old blankets, pillows, or cushions is a great way to reduce waste and create a comfortable bed for your dog. Just make sure the materials are clean and in good condition.
2. What if my dog chews on the bed?
If your dog has a habit of chewing, choose durable fabric and reinforce seams by double-stitching or using a solid thread. Consider adding a removable, machine-washable cover made from more resilient fabric to protect the bed. In addition, provide your dog with appropriate chew toys to redirect their chewing behavior.
3. How do I clean the DIY dog bed?
Most DIY dog beds are machine-washable. Simply remove the cushion filling and toss the fabric or cover into the washing machine on a gentle cycle. Make sure to check the fabric’s care instructions for any specific recommendations. It’s a good idea to have a spare cover or cushion filling to rotate them while one is being washed.
4. Can I make a waterproof dog bed?
You can make a waterproof dog bed using water-resistant or waterproof fabric for the outer cover. Look for fabrics that repel moisture and are easy to wipe clean. This will help protect the filling from accidents or spills and make cleaning easier.
5. Are there any specific safety considerations for DIY dog beds?
Safety is paramount when creating a dog bed. Avoid using materials that could be harmful if ingested, such as toxic glues or staples. Ensure that the bed is sturdy and stable to prevent accidents or injuries. Regularly inspect the bed for any signs of wear or damage, and replace or repair it as needed.
Conclusion
Creating a DIY dog bed is a fulfilling project and a way to provide your furry friend with a comfortable sleeping space tailored to their needs. You can design and construct a personalized bed that fits your dog’s size and preferences using simple materials and tools. Whether you choose to sew a bed from scratch or repurpose existing materials, the result will be a cozy and cost-effective solution that brings joy to both you and your beloved canine companion.
Remember to unleash your creativity by adding personal touches and considering your dog’s safety throughout the process. With your DIY dog bed complete, it’s time to sit back and watch as your furry friend happily snoozes away in their new, homemade haven.
Now, grab those materials, put on your creative hat, and embark on the journey of crafting a DIY dog bed that will provide comfort and sweet dreams for your four-legged friend.
Happy crafting!


