
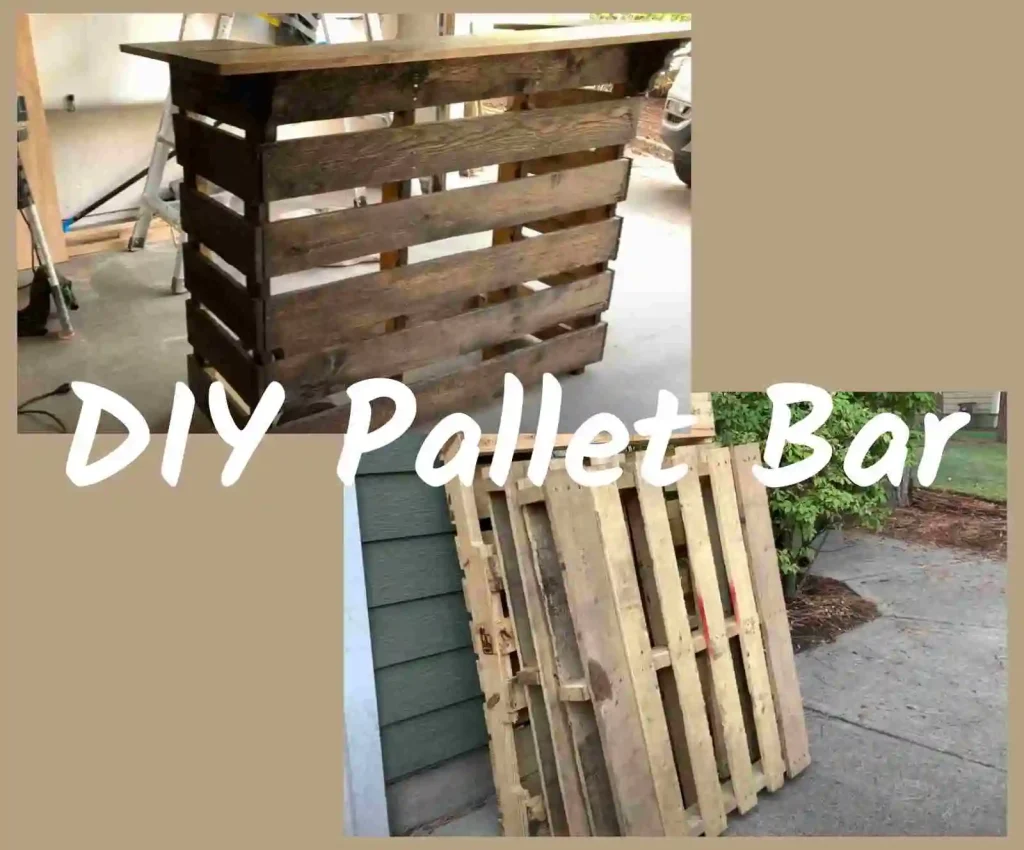
Are you looking to add a touch of rustic charm to your outdoor entertaining area? Do you enjoy DIY projects that allow you to showcase your creativity and craftsmanship? Look no further! This article will delve into the fascinating realm of DIY pallet bars. With a few simple tools, creativity, and a stack of pallets, you can create a stunning and functional bar that will envy your friends and neighbors.
Table of Contents
- Unleashing Your Creativity: DIY Pallet Bar Ideas
- Building Your DIY Pallet Bar: Step-by-Step Guide
- FAQs (Frequently Asked Questions)
- Conclusion
Unleashing Your Creativity: DIY Pallet Bar Ideas
1. Rustic Outdoor Bar Oasis
Transform your backyard into a rustic oasis by constructing a pallet bar that exudes charm and character. Utilize weathered pallets to capture the essence of a bygone era, and incorporate elements like reclaimed wood, vintage signs, and hanging string lights to create an inviting atmosphere. Your guests will be transported to a cozy countryside pub right in your backyard.
2. Industrial Chic Pallet Bar
A pallet bar can be transformed into a sleek and stylish focal point for those with a penchant for the modern and industrial aesthetic. Combine the ruggedness of pallets with metal accents, concrete countertops, and minimalist design elements. The result? A chic and contemporary bar that seamlessly blends rustic charm with urban sophistication.
3. Tiki-Inspired Pallet Bar
Bring tropical vibes to your outdoor space with a tiki-inspired pallet bar. Use bamboo accents, thatched roofing, and vibrant colors to create a bar straight out of a beachside paradise. Complete the look with some tiki torches, tropical foliage, and exotic cocktails, and you’ll have your very own backyard tiki bar where you can unwind and embrace the laid-back island spirit.
Building Your DIY Pallet Bar: Step-by-Step Guide
Step 1: Gather Your Materials and Tools

Before you embark on your pallet bar project, ensure you have all the necessary materials and tools. This may include pallets (make sure they are in good condition), a saw, a drill, screws, sandpaper, a level, a measuring tape, and a paintbrush. Preparation is key to ensuring a smooth building process.
Step 2: Plan and Design Your Pallet Bar
Take some time to sketch out your bar’s design. Consider the dimensions, layout, and additional features you want to incorporate, such as shelves, a built-in cooler, or a footrest. Planning ahead will help you visualize the final product and ensure a successful construction process.
Step 3: Prepare the Pallets

Inspect the pallets and make any necessary repairs. Sand down rough edges and remove any protruding nails or splinters. This step is crucial to ensure the safety and functionality of your pallet bar.
Step 4: Assemble the Bar Structure

Begin by assembling the base of your bar using the pallets. Secure them together using screws and a drill. Add pallets as needed to create your bar’s desired height and width. Make sure the structure is sturdy and level.
Step 5: Add Countertop and Finishing Touches
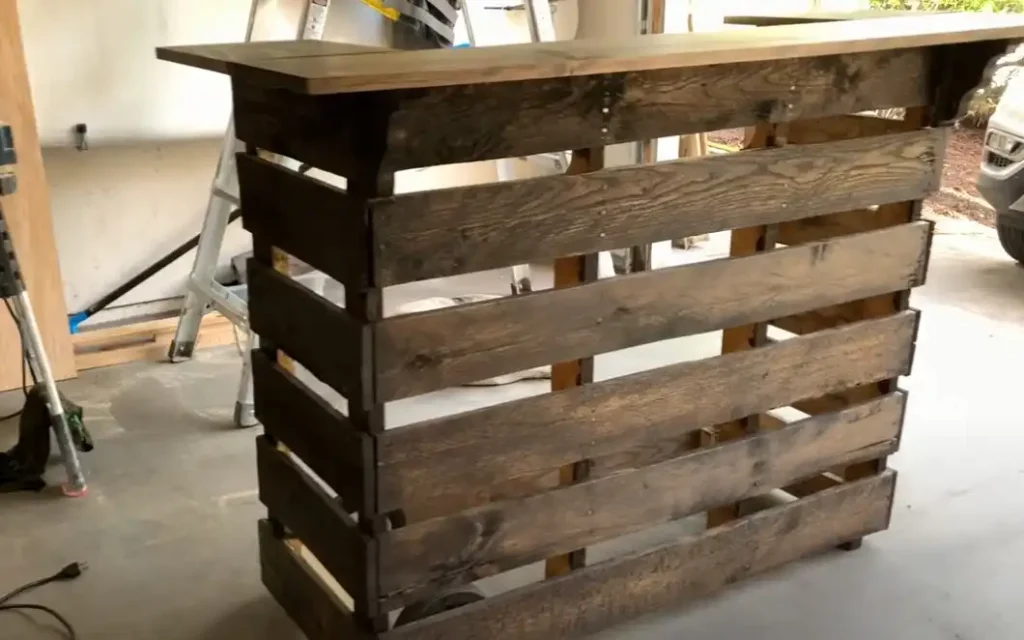
Attach a wooden or concrete countertop to the pallet structure. This will serve as the surface for preparing and serving drinks. Sand the countertop to achieve a smooth finish, and apply a protective sealant or paint to enhance durability and aesthetics. Finally, personalize your bar with paint, stain, or varnish. Get creative with colors and patterns that align with your chosen pallet bar style.
Step 6: Functional and Decorative Elements
Add functional elements to your pallet bar, such as hooks for hanging bar tools, a bottle opener, or a towel rack. These small details not only enhance the usability of your bar but also add to its overall charm. Consider incorporating decorative elements like hanging mason jar lanterns, chalkboard signs, or customized bar signs to give your pallet bar a unique and personal touch.
Step 7: Seating and Accessories
To complete your outdoor bar setup, consider adding seating options and accessories. Repurpose old stools or chairs by giving them a fresh coat of paint or reupholstering them to match the theme of your pallet bar. You can also add cushions or outdoor pillows for added comfort. Remember to include a small table or side shelves for storing glasses, napkins, and other bar essentials.
Image Credit – The Bend
FAQs (Frequently Asked Questions)
Q: Are pallets safe to use for building a bar?
Yes, pallets can be safe for building a bar if they are in good condition and properly prepared. Make sure to inspect the pallets, remove any protruding nails or splinters, and sand down rough edges. Choosing pallets that haven’t been treated with harmful chemicals is also essential.
Q: Can I customize the size and design of my pallet bar?
Absolutely! One of the great advantages of building a DIY pallet bar is the ability to customize it according to your preferences. You can adjust the dimensions, incorporate unique features, and choose a design that suits your style and space.
Q: How long does it take to build a pallet bar?
The time required to build a pallet bar depends on the complexity of the design, your level of experience, and the availability of tools. On average, completing the project may take a few weekends or several days.
Q: Can I use pallets for indoor bars as well?
Yes, pallets can be used to create indoor bars too. Just make sure to adapt the design and finishes to suit the interior aesthetics of your space.
Conclusion
Embarking on a DIY pallet bar project allows you to tap into your creativity, showcase your craftsmanship, and create a unique and functional addition to your outdoor space. With a little planning, the right materials, and a dash of imagination, you can transform discarded pallets into stunning bar that reflects your personal style. So, roll up your sleeves, grab your tools, and get ready to enjoy the satisfaction of building your very own DIY pallet bar. Cheers to your new favorite gathering spot!


