Regarding home decor, the little details make a big difference. One such detail that often goes unnoticed but can elevate your table setting is coasters. Coasters serve a practical purpose by protecting your surfaces from unwanted stains and heat marks and offering an opportunity to showcase your creativity and style. In this article, we will dive into the world of DIY coasters, where you can unleash your imagination and craft beautiful, one-of-a-kind coasters that reflect your personality. So roll up your sleeves, gather your supplies, and let’s get started!
Table of Contents
- The Beauty of DIY Coasters
- Materials You’ll Need
- DIY Coaster Ideas to Spark Your Imagination
- FAQs
- Conclusion
The Beauty of DIY Coasters
DIY coasters are more than just functional objects; they are a form of artistic expression. Creating your coasters allows you to infuse your unique style into your home décor. Whether you prefer a rustic, modern, or whimsical theme, there’s a DIY coaster project out there for you. The best part? You don’t need to be a crafting expert to get started. With a few basic materials and a sprinkle of creativity, you can create coasters that will impress your guests and add a personal touch to your living space.
Materials You’ll Need
Before we delve into the various DIY coaster ideas, let’s gather the essential materials that will be your companions throughout this coaster-making journey. Here’s what you’ll need:
- Cork or wooden coasters: These will serve as the base for your creations. You can find them at your local craft store or online.
- Decorative paper or fabric: Choose patterns and textures that align with your desired aesthetic. Scrapbook paper, colorful fabric remnants, or even decorative napkins can be great options.
- Mod Podge or craft glue: This adhesive will help you attach the decorative elements to the coaster base.
- Paintbrushes: Different sizes of brushes will come in handy for applying glue, varnish, or paint.
- Clear varnish or sealant: This will give your coasters a glossy finish and protect them from moisture.
- Scissors or craft knives: These tools will help you cut the paper or fabric precisely.
- Optional embellishments: To take your coaster designs up a notch, consider adding decorative elements like beads, sequins, or ribbon.
Now that you have your supplies ready let’s explore some DIY coaster ideas that will inspire your creativity!
DIY Coaster Ideas to Spark Your Imagination
1. Patterned Paper Coasters
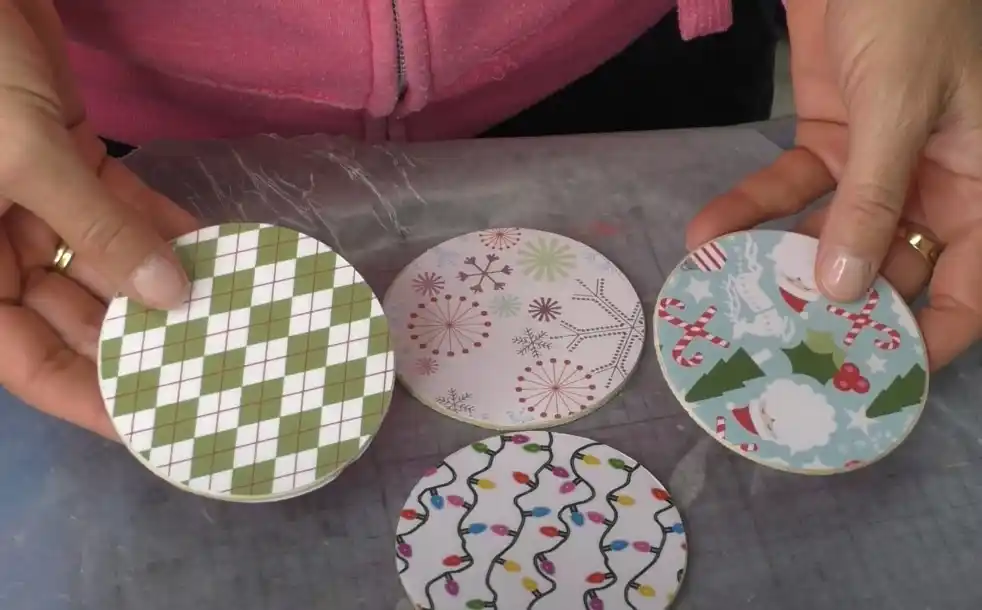
For an effortless yet charming coaster design, opt for patterned paper coasters. Here’s how you can create them:
Materials:
- Cork or wooden coasters
- Patterned scrapbook paper
- Mod Podge or craft glue
- Scissors
- Paintbrush
Instructions:
- Measure and cut the scrapbook paper to fit the size of your coasters.
- Apply a thin, even layer of Mod Podge or craft glue to the coaster’s surface.
- Carefully place the cut paper on top of the coaster, smoothing out any air bubbles or wrinkles.
- Allow the glue to dry completely.
- Apply another layer of Mod Podge or glue over the paper to seal and protect it from spills.
- Let it dry, and your patterned paper coasters are ready to use!
2. Tile Coasters with Photo Transfers
Try creating tile coasters with photo transfers if you want a coaster design that adds a personal touch and nostalgia. Follow these steps to bring your cherished memories to your table:
Materials:
- Ceramic tiles
- Printed photos (preferably on regular printer paper)
- Mod Podge or photo transfer medium
- Foam brush
- Clear varnish or sealant
- Felt pads (for the bottom of the coasters)
Instructions:
- Select the photos you want to transfer onto the coasters and print them in reverse (mirror image) using a regular printer.
- Trim the photos to fit the size of the tiles, leaving a slight border if desired.
- Apply a generous amount of Mod Podge or photo transfer medium to the printed side of the photo.
- Carefully place the photo, with the Mod Podge side down, onto the tile. Smooth out any air bubbles or wrinkles.
- Allow the photo transfer to dry completely, which may take a few hours or overnight.
- Once dry, dampen a cloth or sponge and gently rub the paper surface of the coaster in circular motions.
- As you rub, the paper will start to come off, revealing the transferred image. Be careful not to rub too hard to avoid damaging the photo.
- Continue rubbing until all the paper residue is removed and the transferred image is clear and vibrant.
- Apply a clear varnish or sealant coat to protect the coaster and give it a glossy finish.
- Finally, attach felt pads to the bottom corners of the coaster to prevent scratching on your table surfaces.
3. Resin and Botanical Coasters

Resin and botanical coasters are perfect for a nature-inspired, visually stunning coaster design. Follow these steps to create your unique botanical coasters:
Materials:
- Resin kit (including resin and hardener)
- Silicone coaster molds
- Dried flowers, leaves, or other small botanical elements
- Disposable mixing cups and stir sticks
- Butane torch or heat gun (for removing air bubbles)
- Gloves and protective gear (as recommended by the resin kit)
- Craft knife (optional for trimming botanicals)
Instructions:
- Prepare your work area by covering it with a plastic sheet or parchment paper to protect the surface.
- Mix the resin and hardener according to the instructions provided with your resin kit. Wear gloves and follow all safety precautions.
- Pour a thin resin layer into each coaster mold, filling it halfway.
- Arrange your dried flowers or botanical elements on top of the resin in the molds. You can create a pattern or let your creativity guide you.
- Gently press the botanicals down with a stir stick to ensure they are fully submerged in the resin.
- Pour another resin layer on top to cover the botanicals completely.
- Use a butane torch or heat gun to remove any air bubbles that may have formed in the resin. Pass the flame lightly over the surface, moving it back and forth until the bubbles disappear.
- Allow the resin to cure according to the instructions provided with your kit. This may take a few hours or longer.
- Once fully cured, carefully remove the coasters from the molds.
- use a craft knife to trim any excess or uneven botanicals if desired.
- Your resin and botanical coasters are ready to adorn your table with natural beauty.
FAQs
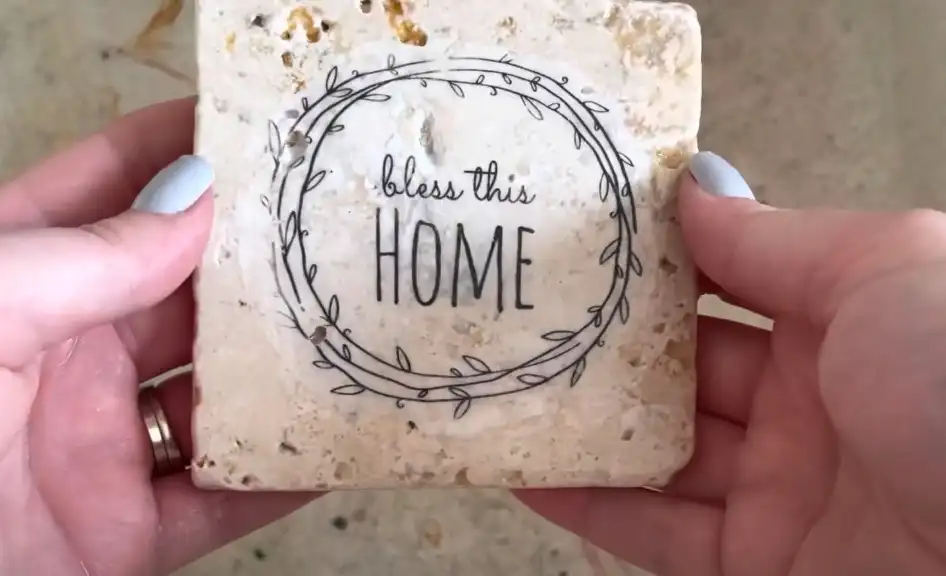
Q: Can I use other materials instead of cork or wood for the coaster base?
A: Absolutely! While cork and wood are commonly used, you can explore alternative materials such as ceramic tiles, stone, or even repurposed materials like bottle caps or CDs. Let your creativity guide your coaster-making choices!
Q: Can I make waterproof coasters?
A: You can make your coasters waterproof by applying a clear varnish or sealant over the finished design. This protective layer will help repel moisture and ensure the longevity of your DIY coasters.
Q: How do I clean and maintain my DIY coasters?
A: Cleaning and maintaining your DIY coasters is simple. Use a damp cloth to gently wipe away any spills or stains for coasters with paper or fabric designs. Avoid soaking them in water or using harsh chemicals. For resin or tile coasters, you can clean them with mild soap and water. Be sure to dry them thoroughly after cleaning.
Q: Can I personalize the coasters as gifts?
A: Absolutely! DIY coasters make excellent personalized gifts. Using hand painting, stenciling, or even vinyl cutouts, you can customize them with names, quotes, or special messages. The recipient will appreciate the thoughtful and unique gift.
Q: Are DIY coasters suitable for beginners?
A: Yes, DIY coasters are perfect for beginners. The techniques and materials involved are generally easy to work with, and you can start with simple designs before progressing to more intricate ones. It’s a fantastic way to explore creativity and gain confidence in crafting abilities.
Conclusion
DIY coasters provide an exciting opportunity to unleash your creativity while adding a personal touch to your home décor. Whether you prefer patterned paper coasters, photo transfer designs, or resin and botanical creations, there’s a DIY coaster project for everyone. With a few basic materials and a dash of imagination, you can craft coasters that reflect your unique style and make a statement on your table. So, gather your supplies, get your creative juices flowing, and embark on a coaster-making adventure that will bring joy and functionality to your living space. Cheers to your newfound coaster-crafting skills!