
Are you tired of rummaging through cluttered closets, struggling to find your favorite outfit or accessories? It’s time to take control of your space and transform your closet into a well-organized haven. With a few simple steps, you can create custom DIY closet shelves and rods to maximize your storage potential and make your daily routine a breeze. In this comprehensive guide, we will walk you through designing and installing your closet shelves and rods, providing practical tips, creative ideas, and expert advice. Say goodbye to disarray and hello to a beautifully organized closet!
Table of Contents
- Why DIY Closet Shelves and Rods?
- Designing Your DIY Closet Shelves and Rods
- Creative Closet Organization Ideas
- Frequently Asked Questions
- Conclusion
Why DIY Closet Shelves and Rods?
Utilize Every Inch of Space
When it comes to storage, every inch matters. DIY closet shelves and rods allow you to optimize your closet’s layout and maximize storage capacity. Customized shelving units can be designed to fit your specific needs, ensuring no space goes to waste. Whether you have a small walk-in closet or a compact reach-in closet, DIY shelves and rods provide a versatile solution to make the most of your space.
Cost-Effective Solution
Opting for DIY closet shelves and rods can save you significant money compared to hiring professional organizers or purchasing expensive pre-made systems. With some creativity and essential tools, you can create a personalized storage solution that suits your budget. DIY projects also offer the flexibility to choose materials that align with your style preferences and home decor.
Customization for Your Needs
Every individual has unique storage requirements, depending on their wardrobe, accessories, and personal preferences. DIY closet shelves and rods allow you to tailor your storage space to suit your specific needs. You can customize the shelves and rods’ dimensions, layout, and design to accommodate items like shoes, folded clothes, hanging garments, handbags, and more. By creating a system that caters to your belongings, you’ll achieve a clutter-free closet that reflects your personal style.
Designing Your DIY Closet Shelves and Rods
Assessing Your Closet
Before diving into the DIY process:
- Take the time to evaluate your current closet space.
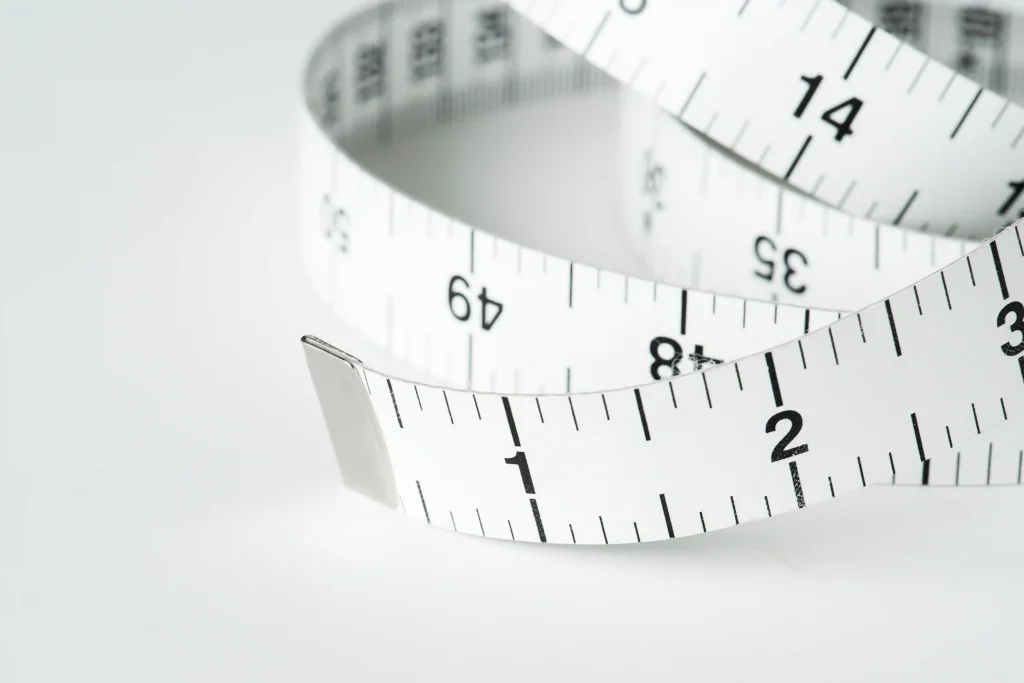
- Measure the dimensions of your closet, including width, height, and depth.
- Consider the types of items you need to store and their respective sizes. This assessment will help you determine your shelves and rods’ optimal layout and design.
Choosing the Right Materials

Selecting suitable materials is crucial for the durability and functionality of your DIY closet shelves and rods. Depending on your preferences and budget, you can choose from various options, such as sturdy plywood, melamine boards, wire shelving, or even repurposed materials. Take into account the weight-bearing capacity required for different items and ensure the chosen materials are suitable for the task.
Planning the Shelf Layout
To efficiently organize your belongings, it’s essential to plan the layout of your shelves. Divide your closet space into sections and consider allocating specific areas for different types of items. For example, dedicate one shelf for folded clothes, another for shoes, and a separate section for accessories. This systematic approach will enhance accessibility and maintain an organized appearance.
Installing Closet Rods
Closet rods are essential for hanging garments such as shirts, dresses, and coats. Locate the studs in your closet walls using a stud finder to install the rods securely. Measure the appropriate height for the rods, ensuring there’s enough space for your garments to hang without touching the floor. Attach the rod brackets to the studs, and place the rods securely into the brackets.
Creative Closet Organization Ideas
When it comes to DIY closet shelves and rods, the possibilities for creativity are endless. Here are some additional ideas to inspire you and enhance the functionality of your closet:
1. Incorporate Drawer Units
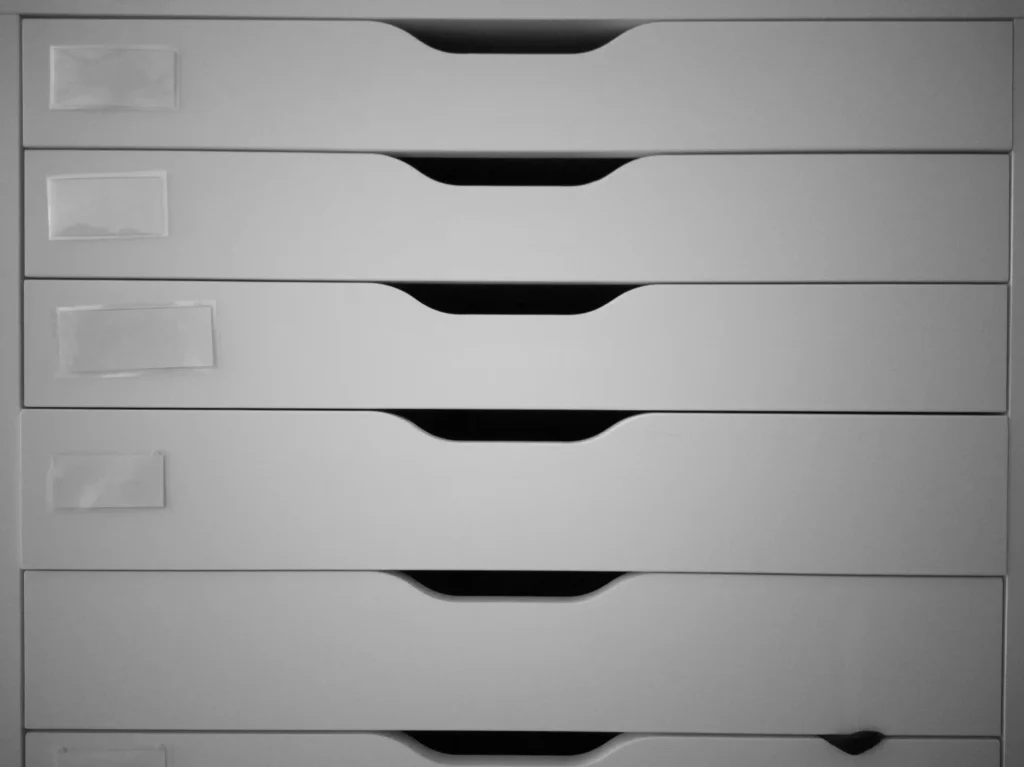
Consider adding drawer units to your closet design. These units are perfect for storing smaller items like socks, underwear, and accessories. You can purchase pre-made drawers or build your own using plywood or melamine boards. Install them underneath shelves or as stand-alone units for easy organization and accessibility.
2. Install Lighting Solutions

Proper lighting can significantly affect your closet’s functionality and overall aesthetic. Install LED strip lights or puck lights along the edges of your shelves to illuminate the contents of your closet. This will help you easily locate items, especially in darker corners or during nighttime. Additionally, a well-lit closet gives a luxurious feel and adds a touch of sophistication to the space.
3. Create a Shoe Wall
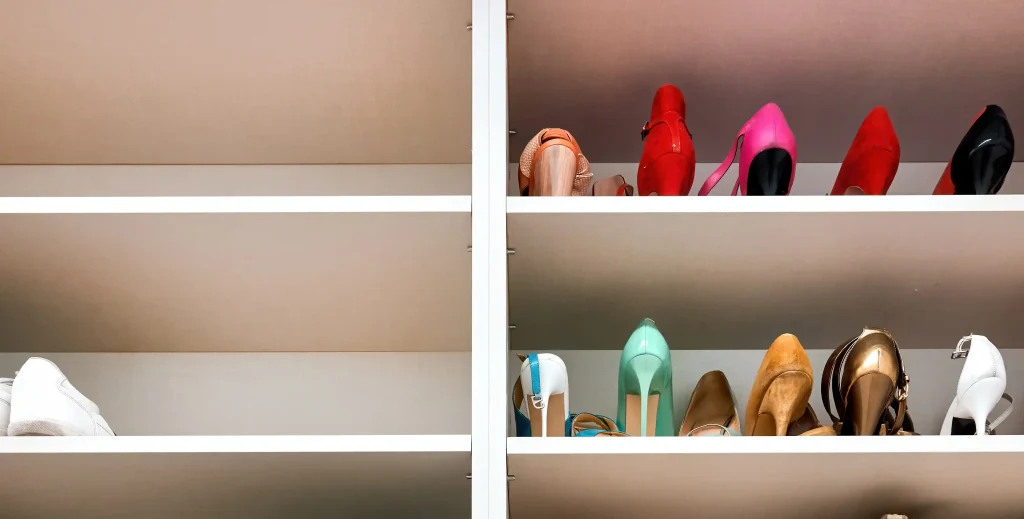
If you’re a shoe enthusiast, why not dedicate an entire wall to showcase your collection? Install angled shelves or cubbies to display your shoes neatly. This keeps them organized and adds a visually appealing element to your closet. Consider arranging your shoes by color or style for a stunning display.
4. Utilize Hanging Storage Accessories

Make the most of vertical space by incorporating hanging storage accessories. Hang fabric or canvas shoe organizers on the back of your closet door to store scarves, belts, or even small handbags. You can also attach hooks or pegs to the walls for hanging hats, ties, or jewelry. These accessories ensure everything has its designated place, preventing clutter and maximizing storage efficiency.
5. Add Decorative Elements
Who says your closet can’t be stylish? Incorporate decorative elements that reflect your personality and make your closet a visually pleasing space. Hang artwork or motivational quotes on the walls, use decorative storage boxes for smaller items, or display a potted plant or fresh flower vase to add a greenery touch. These little details can make your closet feel inviting and inspiring whenever you step inside.
6. Implement a Mirror

Including a full-length mirror in your closet is functional and helps visually expand the space. Mount a mirror on one of the closet doors or allocate a specific area for a standing mirror. This addition allows you to try on outfits, assess your look, and make adjustments conveniently within your closet.
By incorporating these creative ideas into your DIY closet shelves and rods project, you can elevate your space’s functionality, aesthetics, and overall organization. Remember, the goal is to design a closet that serves its purpose, brings joy, and reflects your personal style.
Frequently Asked Questions
- Do I need advanced carpentry skills to build DIY closet shelves and rods?
Not necessarily! Basic carpentry skills are sufficient for most DIY closet projects without extensive experience. You can successfully tackle this project with the right tools, materials, and a clear plan. - What tools will I need for building DIY closet shelves and rods?
The tools you’ll need may include a tape measure, a level, a drill, screws, brackets, a saw (if cutting materials to size), and a stud finder. Make sure to gather all the necessary tools before starting your project. - Can I adjust the shelf heights as my storage needs change over time?
Absolutely! One of the advantages of DIY closet shelves is their flexibility. You can easily adjust the shelf heights as your storage needs evolve. Simply unscrew and reposition the brackets to accommodate different item sizes. - Are there any space-saving techniques for small closets?
Yes, there are several space-saving techniques you can implement. Consider using cascading hangers to maximize vertical space, over-the-door organizers for shoes or accessories, and incorporating pull-out bins or baskets to store folded items efficiently. - Should I paint or finish the shelves and rods?
Painting or finishing the shelves and rods is optional but can add a polished look to your closet. Choose a paint color or finish that complements your overall aesthetic. Remember to let the shelves and rods fully dry before placing any items on them.
Conclusion
Building DIY closet shelves and rods empowers you to take control of your storage space and transform it into an organized oasis. By utilizing every inch of space, choosing suitable materials, planning the layout, and incorporating creative ideas, you can create a personalized closet that caters to your specific needs. Whether you have a small reach-in closet or a spacious walk-in, DIY solutions allow you to maximize storage capacity while staying within your budget. So roll up your sleeves, gather your tools, and embark on the journey to a clutter-free and stylish closet that will make getting ready a breeze. Get ready to experience the joy of a well-organized space that reflects your personality and simplifies your daily routine!


