

Are you a proud hamster owner looking to provide your furry friend with the best possible habitat? Look no further! This article will guide you through the exciting world of DIY hamster cages. Building a custom cage lets you personalize your hamster’s living space and ensures their comfort and well-being. Get ready to embark on a creative journey as we explore the steps, materials, and ideas to construct an excellent DIY hamster cage.
Table of Contents
- Benefits of DIY Hamster Cages
- Getting Started: Materials and Tools
- Building Your DIY Hamster Cage: Step-by-Step Guide
- FAQs about DIY Hamster Cages
- Conclusion
Benefits of DIY Hamster Cages
Creating a DIY hamster cage offers several advantages over store-bought alternatives. Let’s explore the benefits:
- Cost-Effective: Building your hamster cage can be more budget-friendly than purchasing a pre-made one.
- Customization: DIY cages allow you to tailor the design and layout to suit your hamster’s specific needs and your personal preferences.
- Enhanced Space: Building a spacious cage provides your hamster ample room to explore, exercise, and thrive.
- Creative Expression: Designing and constructing a hamster cage allows you to unleash your creativity and enjoy a rewarding DIY project.
Getting Started: Materials and Tools
Before diving into the construction process, gather the necessary materials and tools. Here’s a list of items you’ll need:
- Wire mesh or plastic grating
- Plexiglass or acrylic sheets
- Wooden planks or furniture boards
- Nails, screws, and a screwdriver
- Wire cutters or a jigsaw
- Zip ties or strong adhesive
- Drill and drill bits
- Decorative elements (hammocks, tunnels, etc.)
- Bedding materials (shredded paper, aspen shavings, etc.)
- Hamster-safe toys and accessories
Building Your DIY Hamster Cage: Step-by-Step Guide
Now that you have all the necessary materials, let’s dive into the step-by-step process of building your hamster cage:
Step 1: Planning and Design
Start by sketching a blueprint for your cage. Consider the size, shape, and specific features you want to incorporate. Ensure proper ventilation and accessibility.
Step 2: Frame Construction

Construct the frame of your hamster cage using wooden planks or furniture boards. Secure the pieces together with nails or screws, creating a sturdy structure.
Step 3: Mesh or Grating Installation
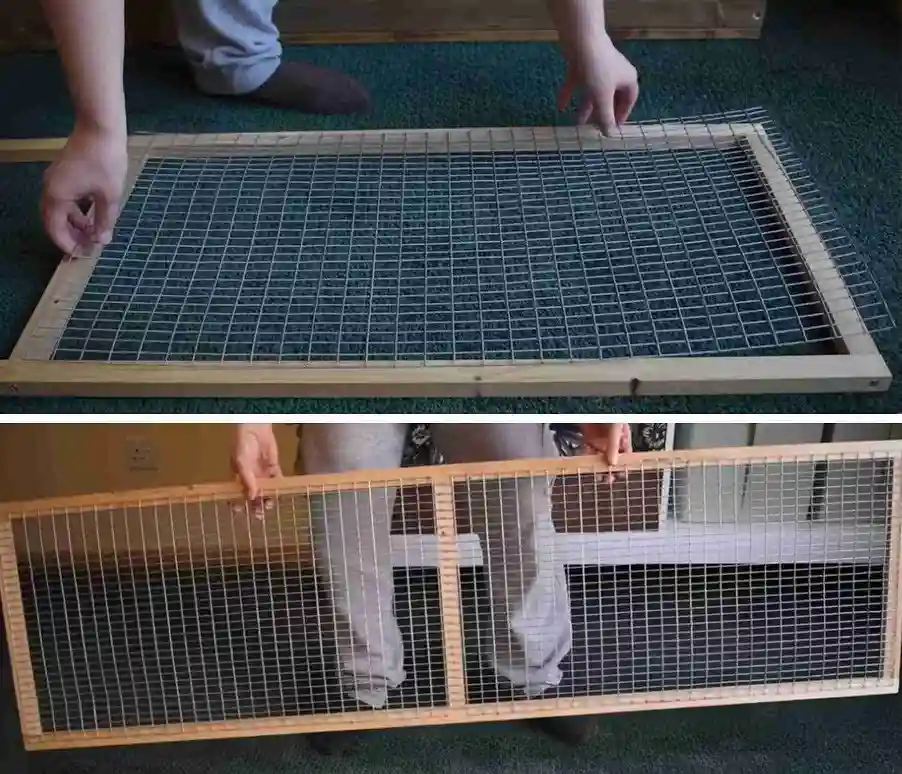
Attach wire mesh or plastic grating to the sides of the cage frame. This will provide ventilation and prevent your hamster from escaping. Use zip ties or strong adhesive to secure the mesh in place.
Step 4: Plexiglass or Acrylic Sheets

Attach plexiglass or acrylic sheets to create transparent walls for better visibility. This allows you to observe your hamster while providing a safe enclosure. Use screws or adhesive to secure the sheets to the frame.
Step 5: Access Doors and Latches

Create small access doors on the cage for easy cleaning and handling. Install latches to ensure the doors stay securely closed while preventing any escapes.
Step 6: Decorate and Personalize
Let your creativity shine by adding hammocks, tunnels, platforms, and other decorative elements to the cage. Ensure they are securely attached and don’t pose any hazards to your hamster.
Step 7: Bedding and Accessories
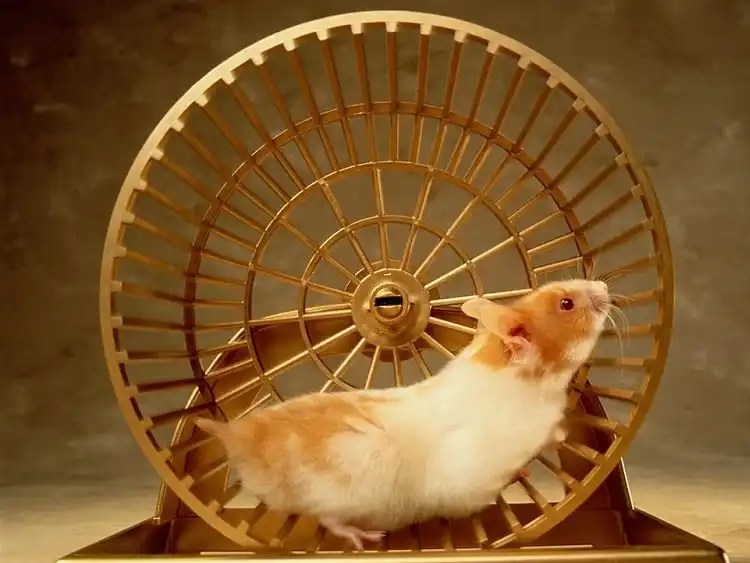
Line the bottom of the cage with hamster-safe bedding material such as shredded paper or aspen shavings. This provides comfort and absorbs moisture. Introduce hamster-safe toys and accessories like exercise wheels, chew toys, and hideouts to keep your furry friend entertained and stimulated.
Step 8: Safety Checks
Perform thorough safety checks before introducing your hamster to the new DIY cage. Ensure there are no sharp edges, loose wires, or potential hazards that could harm your pet. Double-check the stability of the structure and make any necessary adjustments.
Credit – SomethingAnimal
FAQs about DIY Hamster Cages
Q1: Are DIY hamster cages suitable for all hamster breeds?
A1: Yes, DIY cages can be customized to accommodate various hamster breeds, including Syrian hamsters, dwarf hamsters, and Roborovski hamsters.
Q2: How large should the DIY hamster cage be?
A2: It’s recommended to provide at least 360 square inches (approximately 2322 square centimeters) of floor space for your hamster’s comfort and well-being.
Q3: Can I use alternative materials for construction?
A3: While the suggested materials are commonly used, you can explore alternatives such as repurposed furniture or plastic storage containers, ensuring they are safe for your hamster.
Q4: How often should I clean the DIY hamster cage?
A4: Regular cleaning is crucial for maintaining a hygienic environment. Clean the cage at least once weekly, removing soiled bedding, wiping surfaces, and replacing water and food dishes.
Conclusion
Building a DIY hamster cage gives your furry friend a personalized, comfortable, and safe living space. The benefits of customization, cost-effectiveness, and creative expression make it a rewarding endeavor for you and your hamster. Remember to prioritize safety, incorporate engaging accessories, and create a stimulating environment. With your DIY skills and this comprehensive guide, your hamster will have a wonderful new home to explore and enjoy. Happy crafting!


