
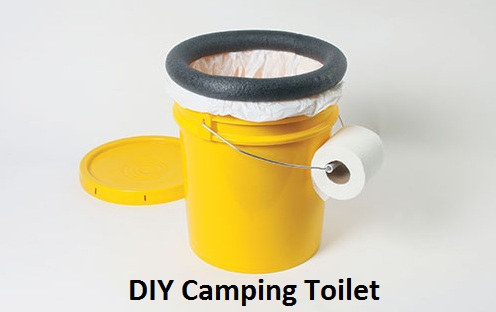
Are you planning a camping trip and looking for a convenient way to answer nature’s call while in the wilderness? A DIY camping toilet might be just what you need! In this guide, we’ll show you how to build your own portable toilet using simple materials that you can find at your local hardware store.
Table of Contents
Introduction
When you’re out camping, it’s only sometimes possible to find a public restroom or outhouse nearby. That’s why a DIY camping toilet can come in handy. With a few materials and a little bit of effort, you can have a portable toilet that’s both convenient and easy to use.
Materials Needed
Here are the materials you’ll need to build your own DIY camping toilet:
- A 5-gallon bucket with a tight-fitting lid
- A pool noodle or foam pipe insulation
- A toilet seat and lid (you can purchase a camping toilet seat online or use a standard toilet seat)
- Heavy-duty garbage bags
- Kitty litter or sawdust
Step-by-Step Guide
Follow these steps to build your own DIY camping toilet:
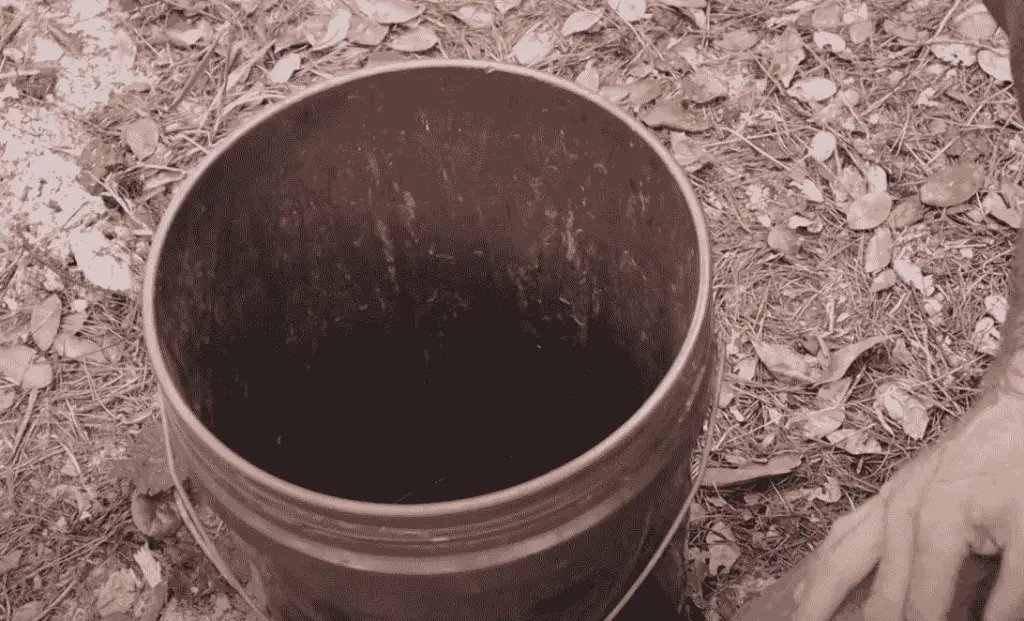
Step 1: Prepare the Bucket
Start by drilling a hole in the center of the bucket’s lid that’s the same diameter as your pool noodle or foam pipe insulation. Then, cut the pool noodle or foam pipe insulation to the length of the bucket’s circumference and glue it around the edge of the lid to create a comfortable seat.
Step 2: Add the Toilet Seat
Attach the toilet seat to the top of the foam pipe insulation using bolts and nuts. Ensure the seat is secure and won’t move around when sitting on it.
Step 3: Line the Bucket
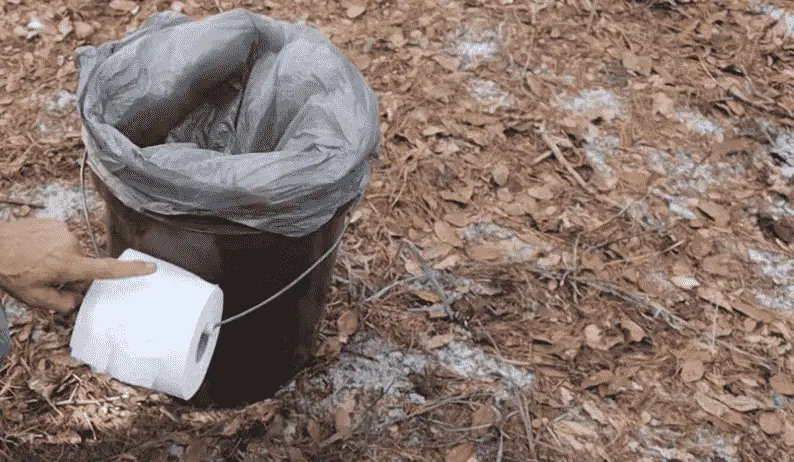
Line the bucket with a heavy-duty garbage bag. You can use a new bag each time or reuse the same bag by tying it up and disposing of the contents after your trip.
Step 4: Add Kitty Litter or Sawdust
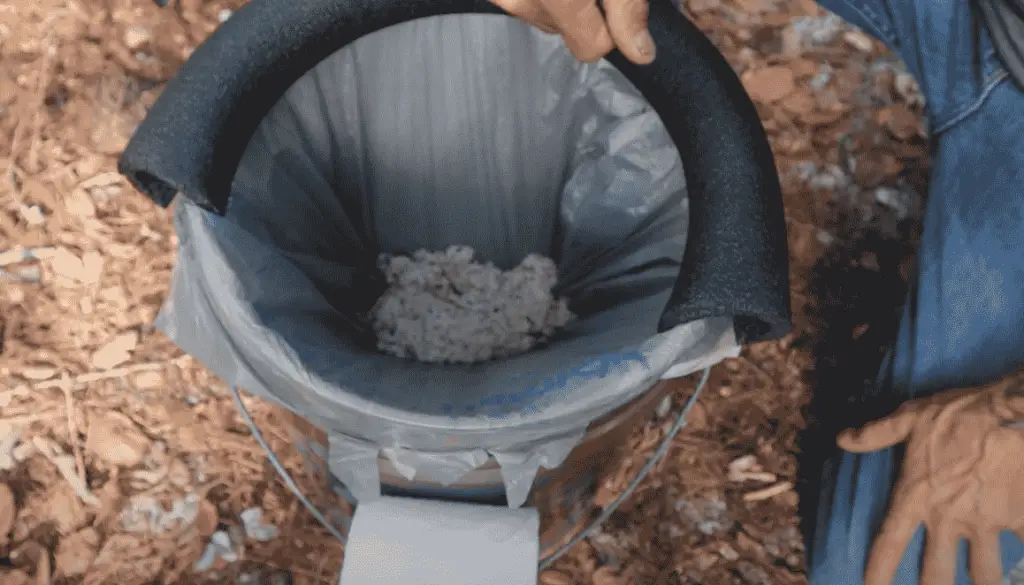
Add a layer of kitty litter or sawdust to the bottom of the bag. This will help absorb any moisture and reduce odors.
Step 5: Use Your DIY Camping Toilet
When you need to use the toilet, sit on the seat and do your business. Afterward, add another layer of kitty litter or sawdust to cover the waste. When the bag is full, tie it up and dispose of it properly.

FAQs
Is it safe to use a DIY camping toilet?
Yes, if you dispose of the waste properly and follow good hygiene practices, a DIY camping toilet is safe to use.
How do I dispose of the waste?
You should dispose of the waste in a proper waste disposal facility. Please do not leave the waste in the wilderness or bury it in the ground.
How often do I need to change the garbage bag?
This depends on how often the toilet is used. You should change the bag whenever it’s full or when it starts to smell.
Can I use something other than kitty litter or sawdust?
Yes, you can use other materials like wood chips, dried leaves, or shredded paper to absorb moisture and reduce odors.
What are some tips for using a DIY camping toilet?
Here are some tips to make using your DIY camping toilet more comfortable:
- Always keep the lid closed when not in use to prevent odors from escaping.
- Bring hand sanitizer or soap and water to clean your hands after using the toilet.
- Don’t put anything in the toilet that can’t be easily broken down, like wet wipes or paper towels.
- Avoid using the toilet near your campsite or any bodies of water to prevent contamination.
Conclusion
A DIY camping toilet is a simple and convenient solution for answering nature’s calls while you’re out camping. With just a few materials, you can build a portable toilet that’s easy to use and dispose of. Just make sure to follow proper hygiene practices and dispose of the waste properly. Happy camping!


