
In a world filled with digital distractions, sometimes we crave a taste of the wild, a chance to tap into our primal instincts. Enter axe throwing a popular recreational activity that combines skill, strength, and a dash of adventure. While axe throwing establishments have gained popularity, why not bring excitement into your backyard? In this article, we’ll guide you through the steps of creating your very own DIY axe throwing target. Get ready to channel your inner lumberjack and embark on an unforgettable journey of fun and precision.
Table of Contents
Materials You’ll Need:
To get started on your DIY axe-throwing target project, gather the following materials
1. Plywood:
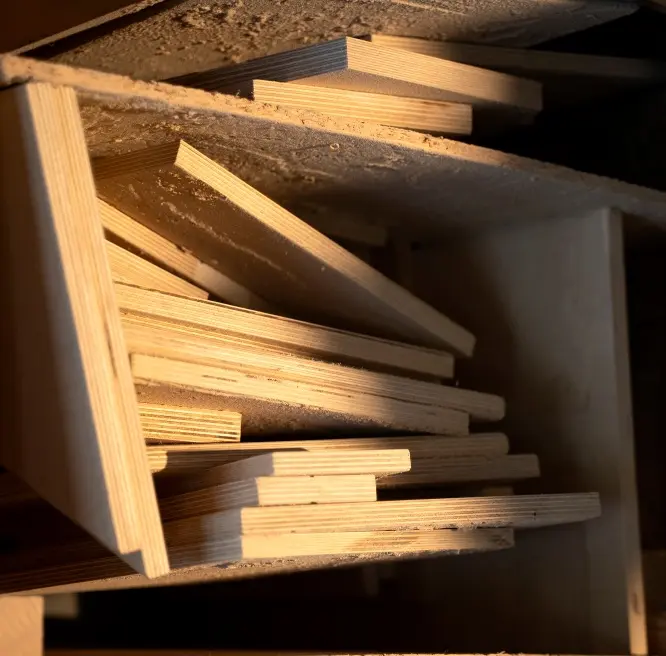
Get yourself a sturdy piece of plywood measuring 4 feet by 4 feet. Opt for a thickness of at least ¾ inch to ensure durability and safety.
2. 2×4 Lumber:
You’ll need several pieces of 2×4 lumber to create the frame and support structure for your axe-throwing target. Ensure enough for the target frame and the legs to hold it up.
3. Screws and Nails:

Stock up on screws and nails of appropriate sizes to securely fasten the pieces together. Choose corrosion-resistant options if your target will be exposed to the elements.
4. Saw:
A saw will come in handy for cutting the plywood and lumber to the desired measurements. Consider using a circular saw or a miter saw for precise cuts.
5. Measuring Tape:

Accurate measurements are essential for constructing a functional and safe axe-throwing target. Keep a measuring tape handy to ensure precision throughout the process.
6. Paint and Brushes:
Grab some paint in vibrant colors to add a touch of personalization and visibility to your target. Brushes will help you create eye-catching designs and patterns.
Step-by-Step Guide:
Step 1: Designing Your Target

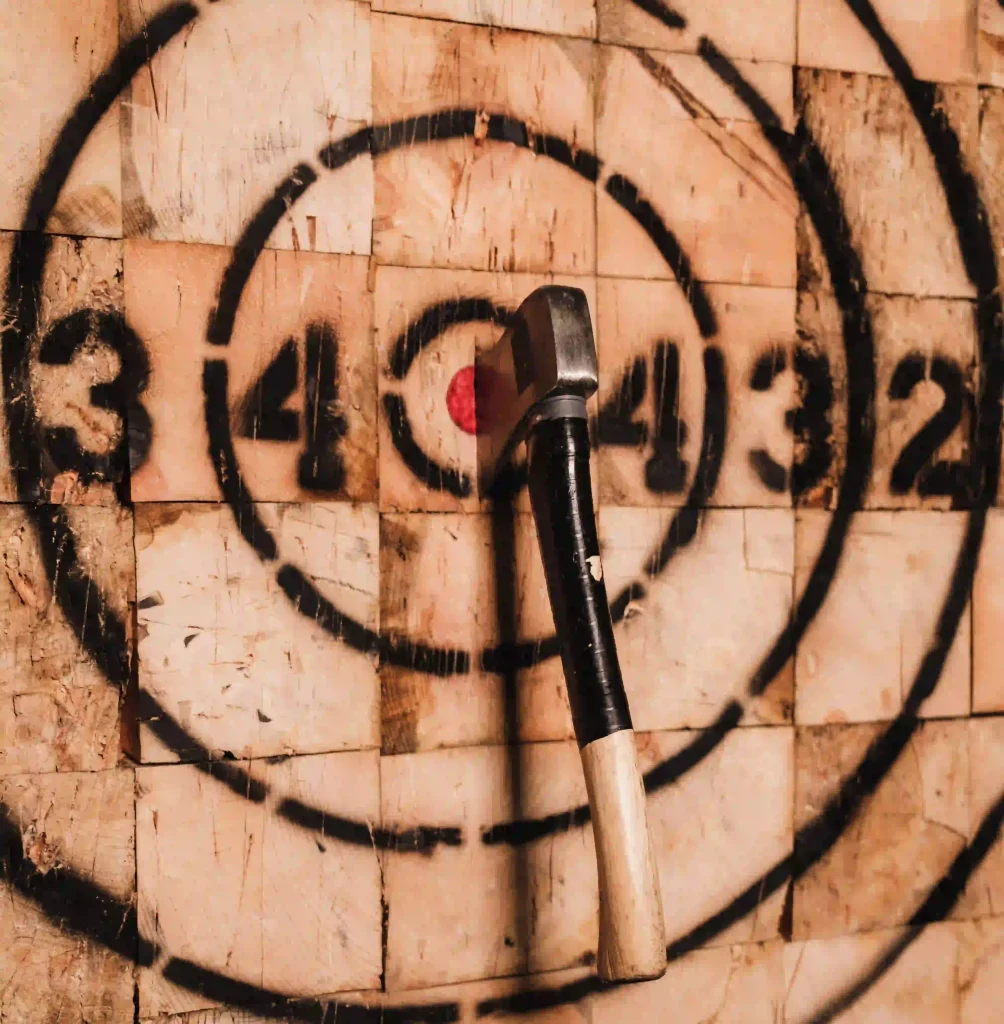
Start by deciding on the size and shape of your target. The standard size is 4 feet by 4 feet, but you can adjust it according to your preferences and available space. Draw the target rings using a pencil or chalk, creating a bullseye pattern. Divide the target into multiple rings to assign different point values for each section.
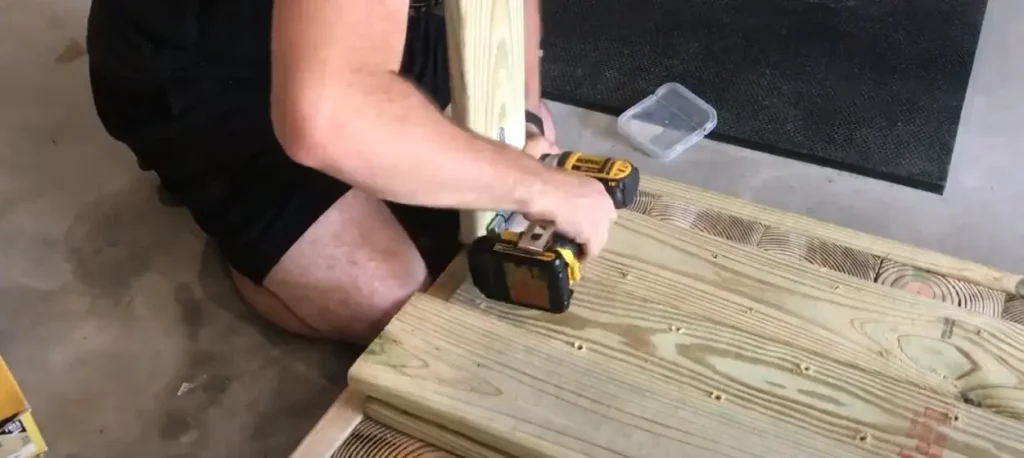
Step 2: Building the Frame
Measure and cut the 2×4 lumber to construct a square frame matching your target’s dimensions. Connect the corners using screws or nails, ensuring the frame is sturdy and level. This frame will serve as the foundation for attaching the plywood.
Step 3: Attaching the Plywood
Place the plywood on top of the frame, aligning it properly. Secure the plywood to the frame using screws, ensuring it is firmly attached and doesn’t wobble. Check for stability and adjust as needed.
Step 4: Creating the Stand
Measure and cut additional pieces of 2×4 lumber to create the legs for your axe-throwing target. The length will depend on your desired height, but a standard recommendation is around 6 feet. Attach the legs to the backside of the target frame, angling them slightly outward for added stability. Secure them with screws or nails.
Step 5: Finishing Touches

Inspect the target for any sharp edges or splinters, sanding them down for safety. Now, it’s time to let your creativity shine. Paint the target rings in contrasting colors and add any desired designs or patterns. Use high-visibility paint to make the circles stand out, ensuring better visibility during axe-throwing sessions.
FAQs:
1. Can I use alternative materials for the target?
While plywood is the most common and recommended material, you can experiment with other sturdy materials like thick foam boards or stacked cardboard layers. Just ensure they can withstand the impact of the axe safely.
2. Is it safe to throw axes in my backyard?
Safety is paramount when engaging in axe throwing. Ensure your backyard has a clear, open space away from windows, pets, and bystanders. Establish a safety zone around the target and ensure everyone follows proper throwing techniques.
3. What type of axes should I use?
For axe throwing, it’s essential to choose the right type of axe. Look for axes specifically designed for throwing, as they have a balanced weight distribution and a sharp, durable blade. Throwing axes often have a shorter handle, making them easier to handle and control during the throw. Investing in a few quality throwing axes to enhance your experience is recommended.
4. How should I practice axe throwing safely?
Safety should always be a priority when practicing axe throwing. Follow these guidelines to ensure a safe experience:
- Always maintain a safe distance between yourself and others while throwing.
- Thoroughly inspect the target for any damage or loose parts before each session.
- Never throw an axe when people are downrange or retrieving axes.
- Only throw the axe with one hand and from behind the designated throwing line.
- Ensure that the area around the target is clear of any obstacles or hazards.
- Encourage participants to wear appropriate protective gear, such as closed-toe shoes and safety glasses.
Conclusion:
Congratulations! You’ve learned how to create your very own DIY axe-throwing target. Following the steps outlined in this article, you can now enjoy the excitement and challenge of axe throwing right in your backyard. Remember to prioritize safety, maintain proper throwing techniques, and always supervise axe-throwing sessions. Get ready to unleash your inner lumberjack, gather your friends and family, and embark on a thrilling adventure filled with fun, competition, and the satisfying thud of an axe hitting the bullseye. Happy throwing!
So, what are you waiting for? It’s time to get your DIY skills in gear and start building your axe-throwing target. Get ready to experience the thrill of hitting the bullseye and challenge your friends to see who has the best aim. Unleash your inner lumberjack, and let the axe-throwing games begin!


